As an Amazon Affiliate, I earn from qualifying purchases at no extra cost to you.
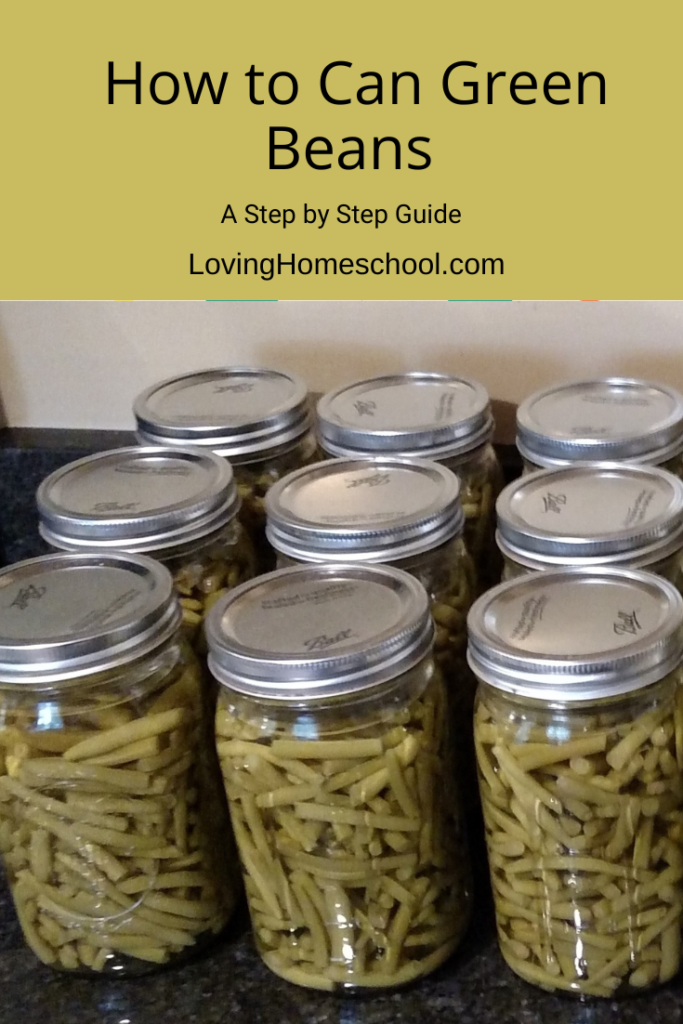
A Step by Step Guide on How to Can Green Beans in a Pressure Canner. All you need to know to preserve your harvest.
Green Beans were the first thing I learned how to can. We like the taste of canned beans more than frozen beans. Also, if the power goes out for four days like it did a few years ago during our Derecho, I do not have to lose all of that hard work. I am very happy to know how to can green beans and many other things like chicken or beef broth. It is very satisfying to look at those pretty jars full of fresh food for my family.
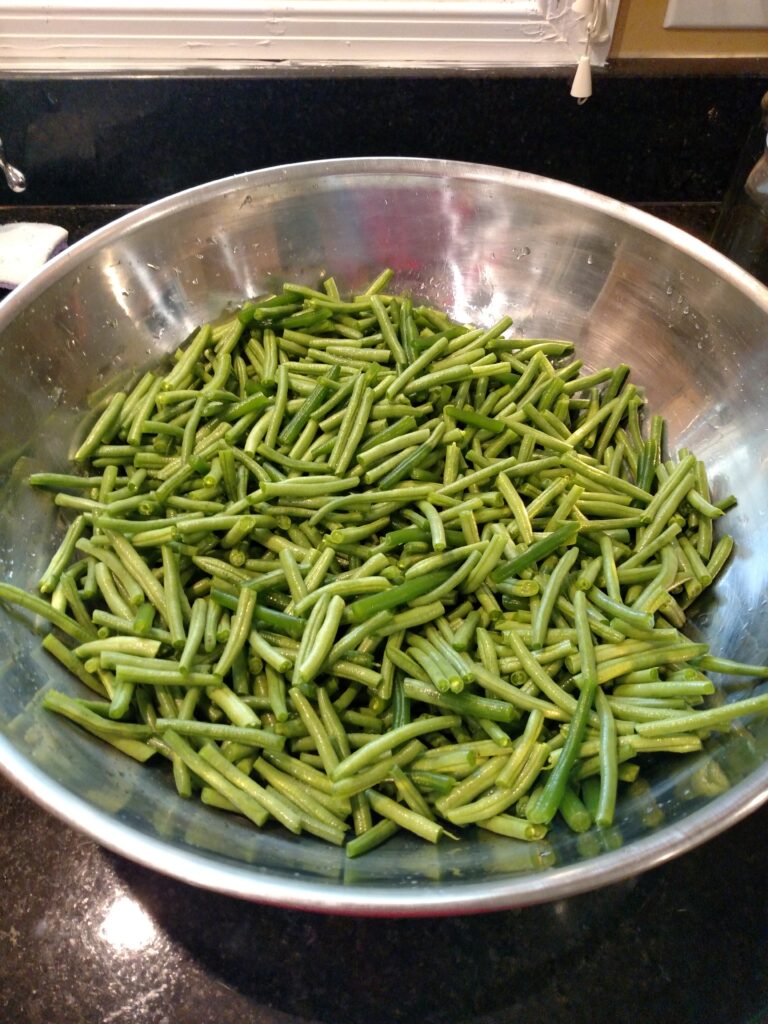
I found that I needed about 4.5 pounds of beans for 7 quarts, which is what my canner holds.
Other Canning Posts
First some cautions!
Please, PLEASE be so careful while pressure canning!
- Move slowly, don’t hurry
- Read your directions carefully and then read them again
- If you got your canner from a yard sale, Craigslist, your Grandma’s basement, etc. Be so sure that all parts are in good working order. If all vents, locks, plugs, and rings do not work properly, you could have a serious explosion causing damage to your kitchen and anyone around it at the time. Please NEVER just put a canner on the stove and start canning. You just do not want flying pots, lids, glass jars and boiling liquid flying around. If it did not come with an instruction booklet, google your model online to be sure you have all you need and get replacement parts as needed.
- Even with a brand new canner, follow the instructions to check each part carefully.
These instructions are what I follow from my Presto instruction booklet for my Presto canner. If you have a different canner, please follow those directions if they are different from these. The basic process will be the same.
Instructions:
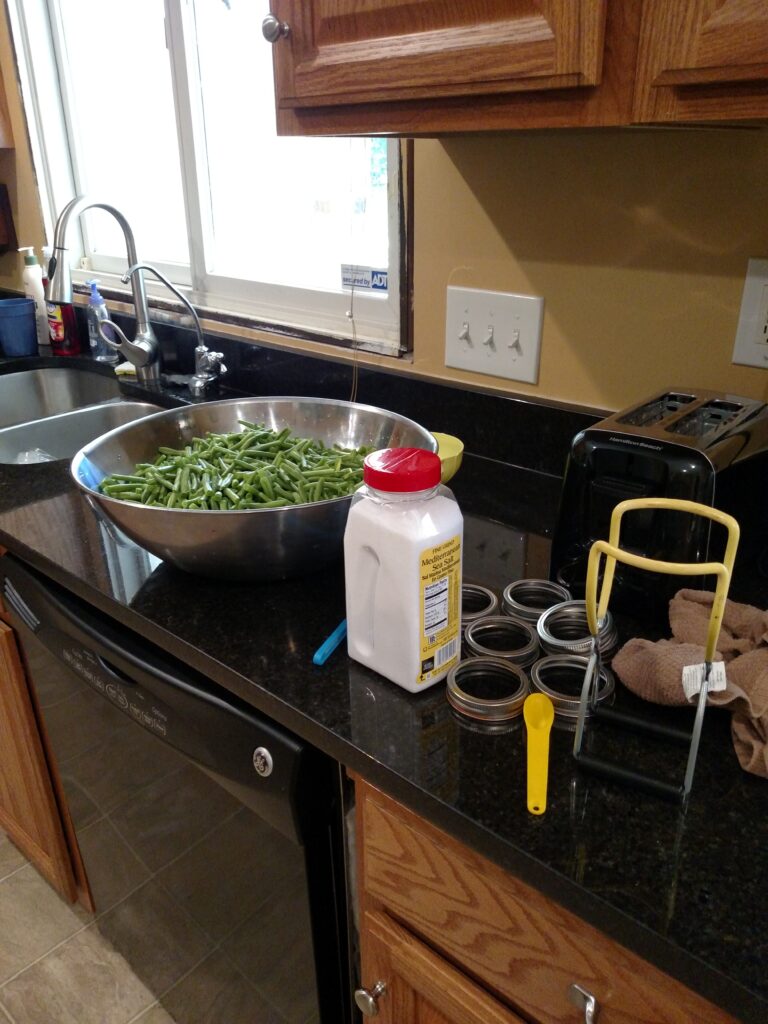
Get all set up so you aren’t running around looking for things when you need them.
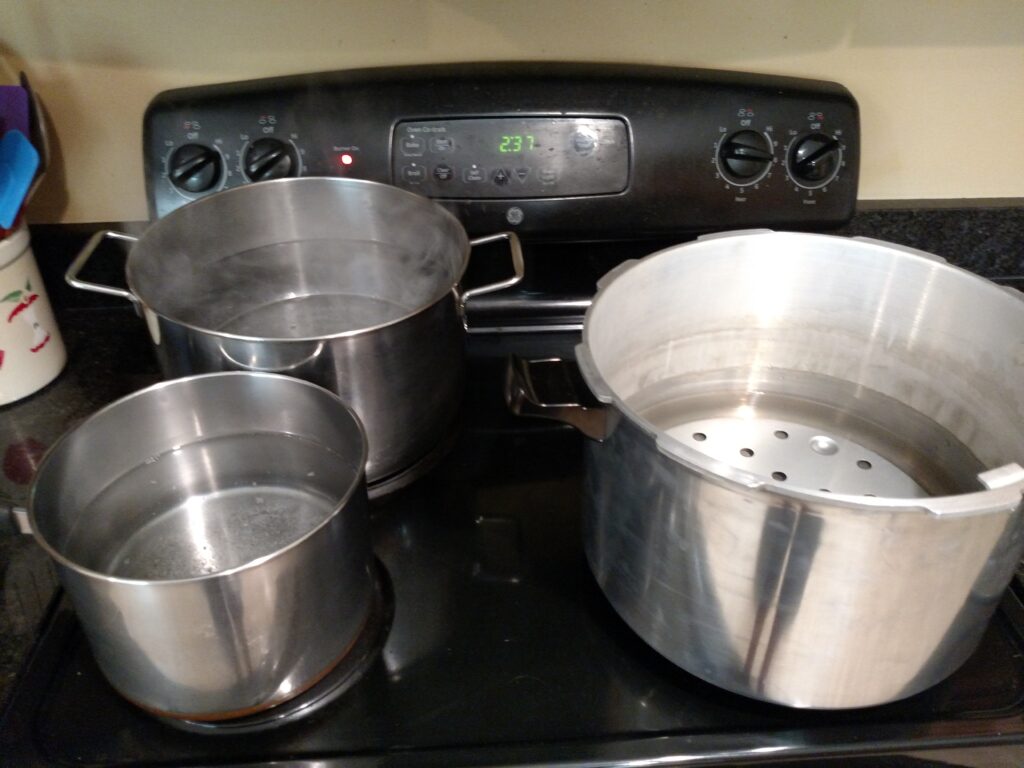
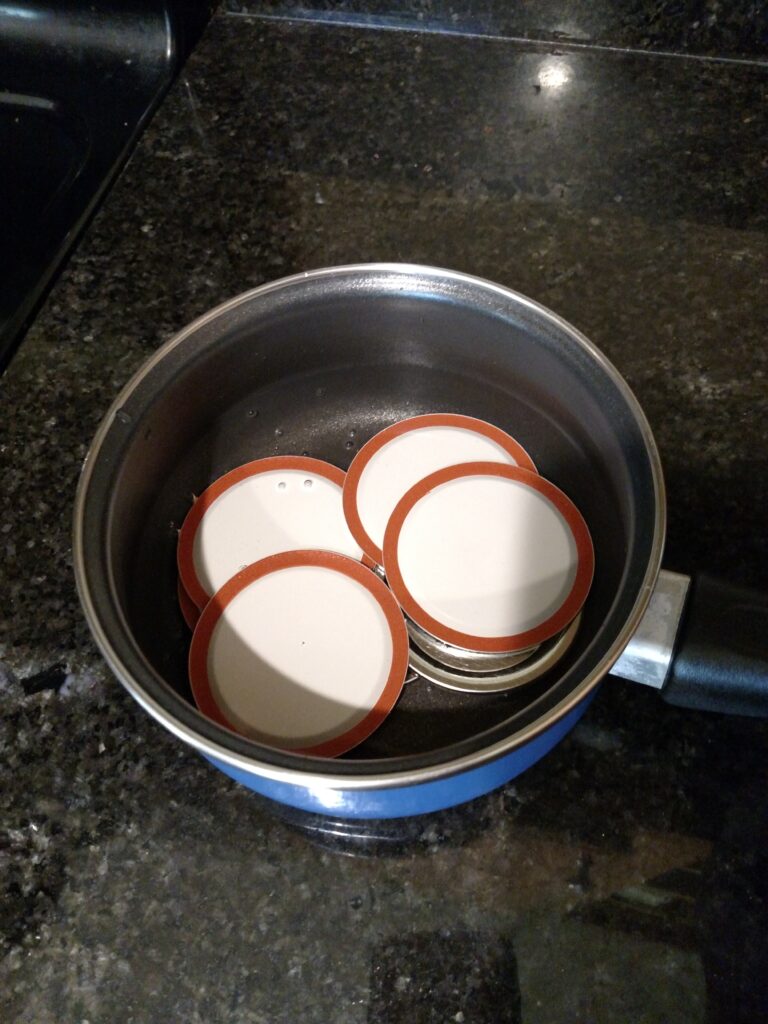
Start your pots of water warming, your canner water warming and a small pan with enough water to cover the lids you will be using. This takes a while. My canner takes 3 quarts of water and I add 2 Tbsp of vinegar to prevent water stains on the jars. Heating the lids in the hot water helps them to seal.
And the small pan with the lids-
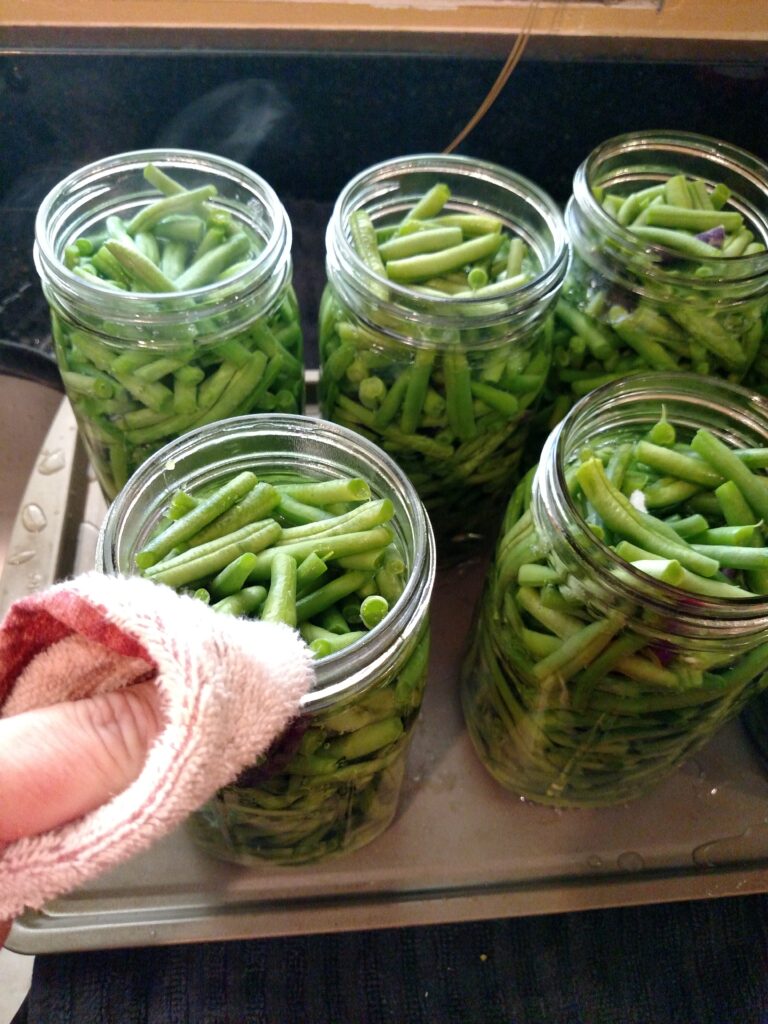
Wash beans, snap off ends and break into about 1 inch pieces.
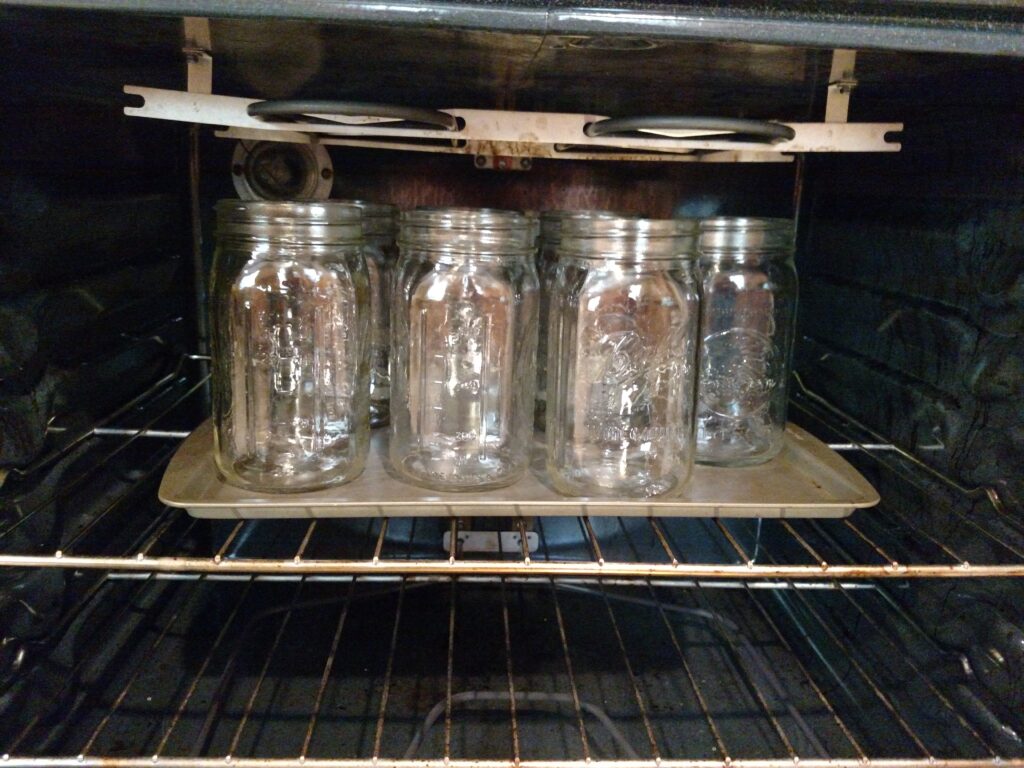
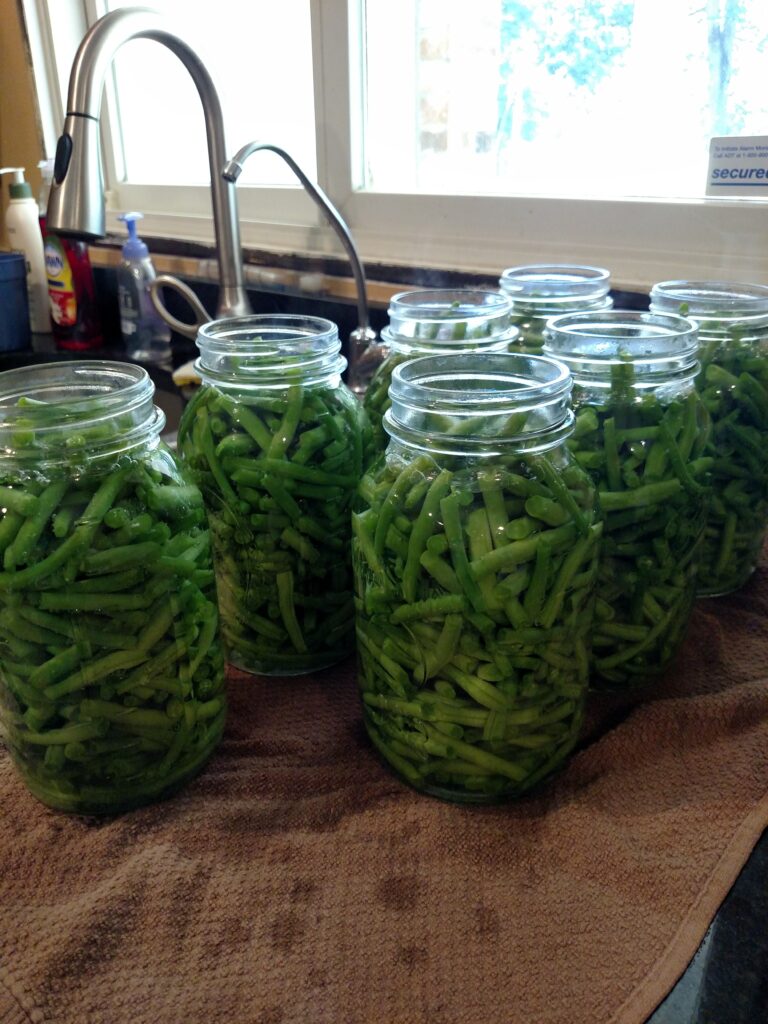
Put your clean, dry jars in a 250* oven and warm them for about 10 minutes. They need to be hot enough that the boiling water does not shock and crack them. For years I fooled with putting boiling water in them but that is a lot of water to boil and difficult to do without burning yourself. This is much easier and works great.
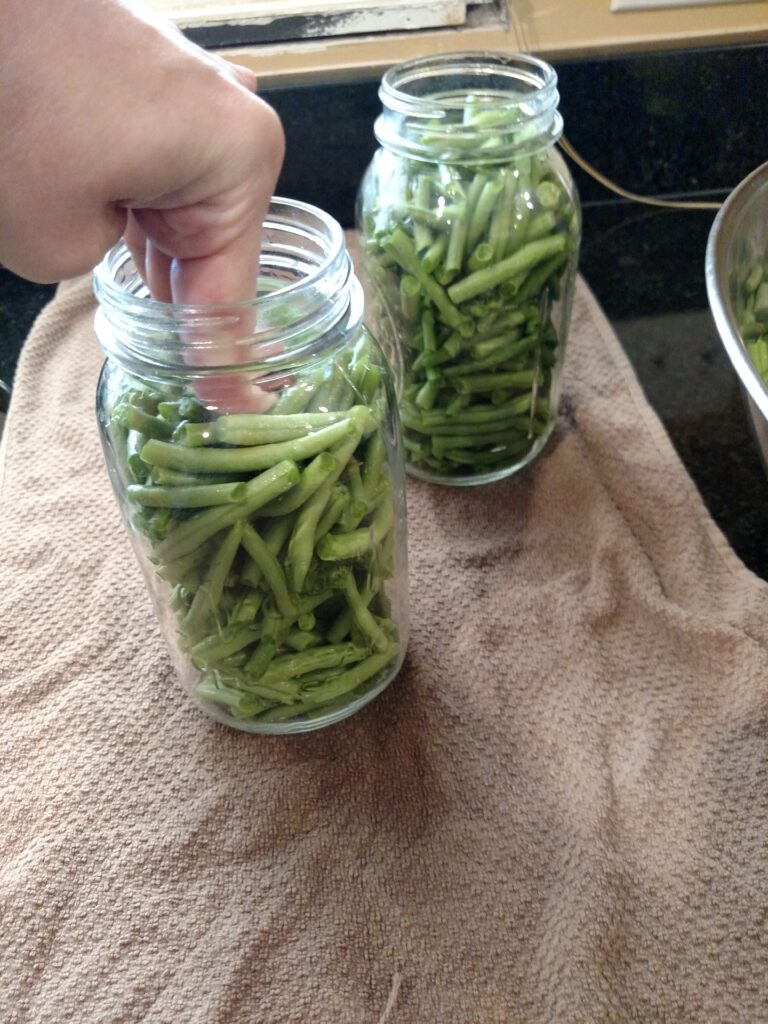
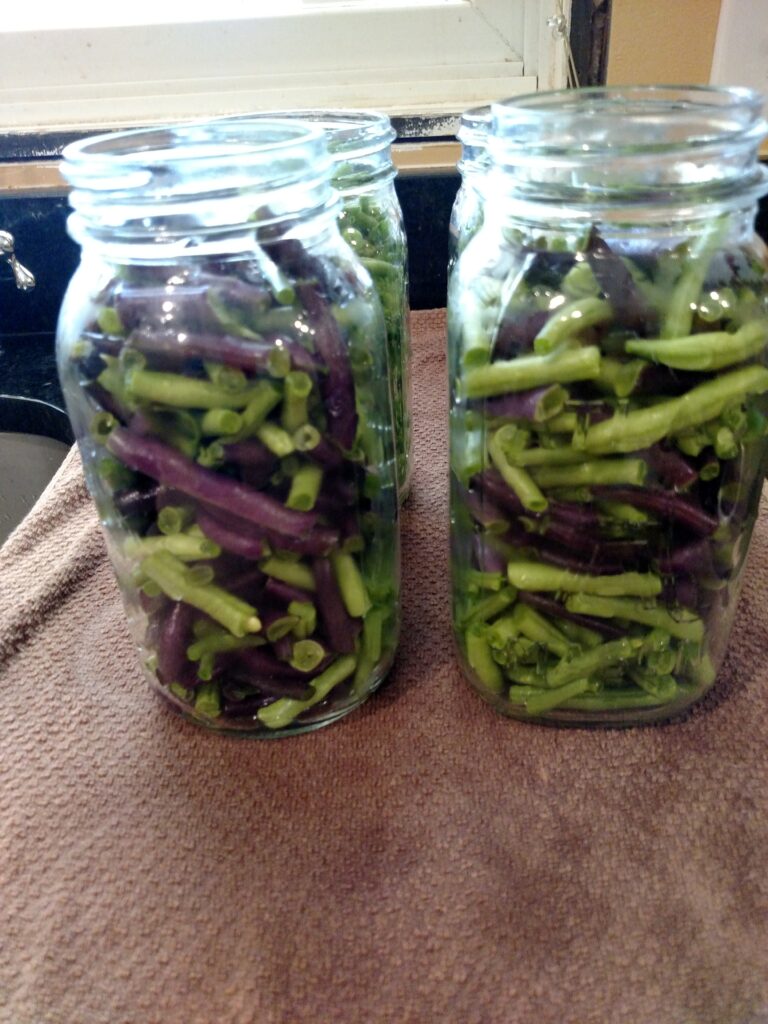
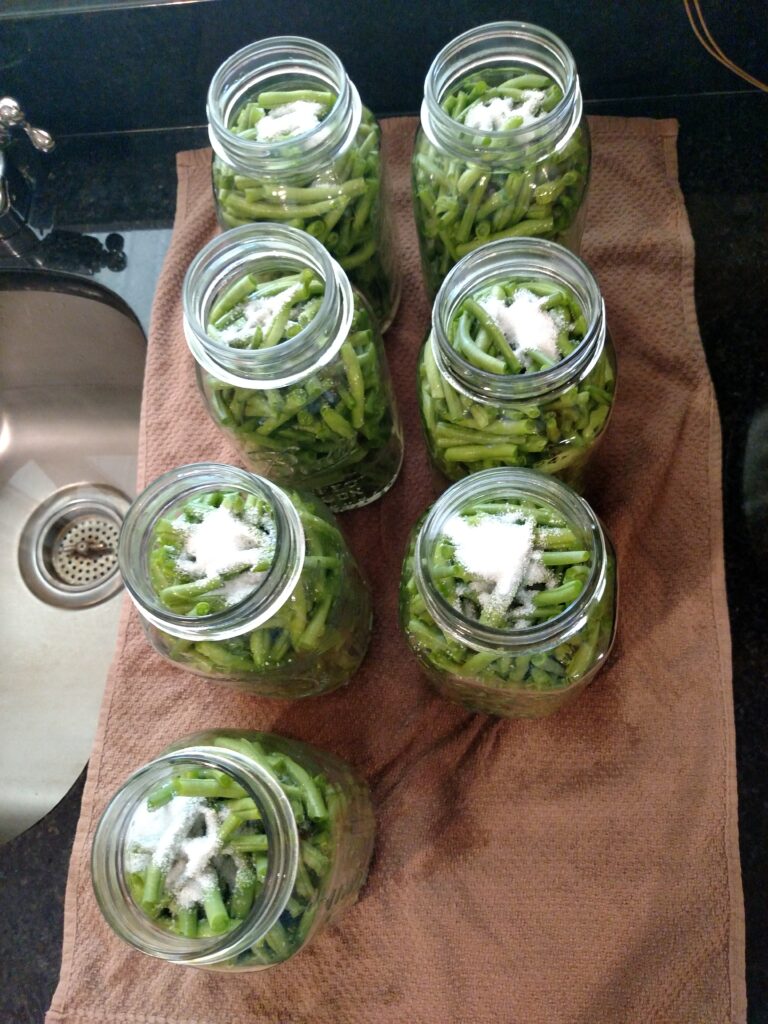
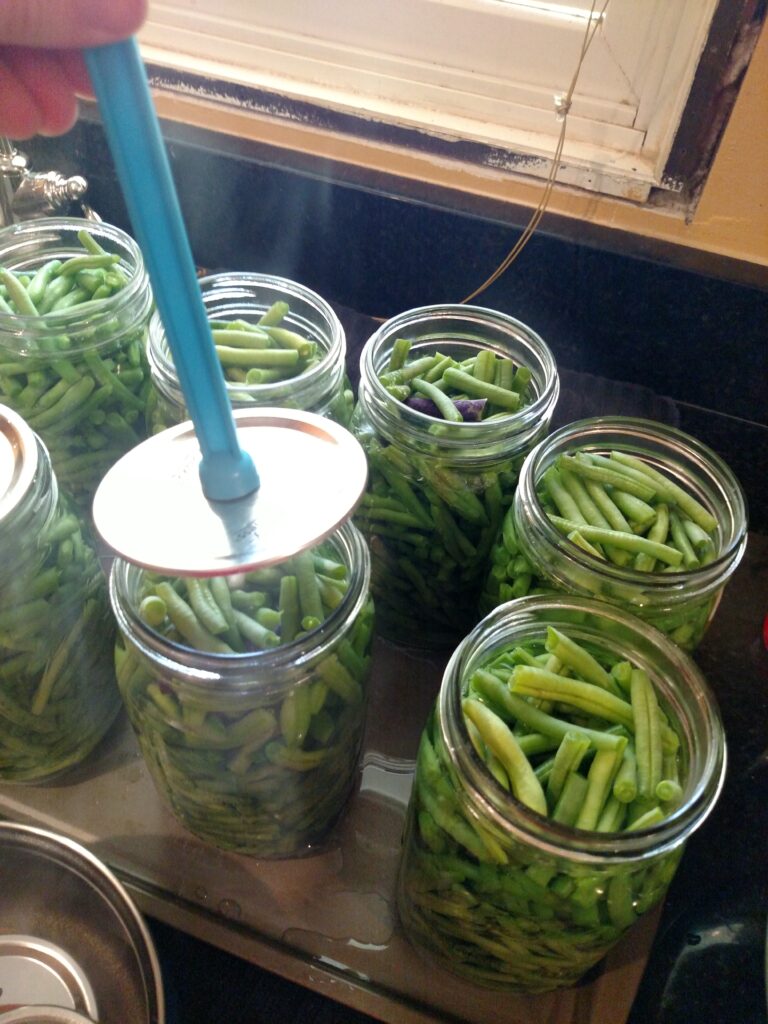
Pack raw beans tightly into jars. Raw pack means you do not cook them at all before canning. I love this! Really push them down into the jars. (This purple variety is beautiful but turns to green when they are cooked. Bummer.)
Add 1 tsp salt to jars.
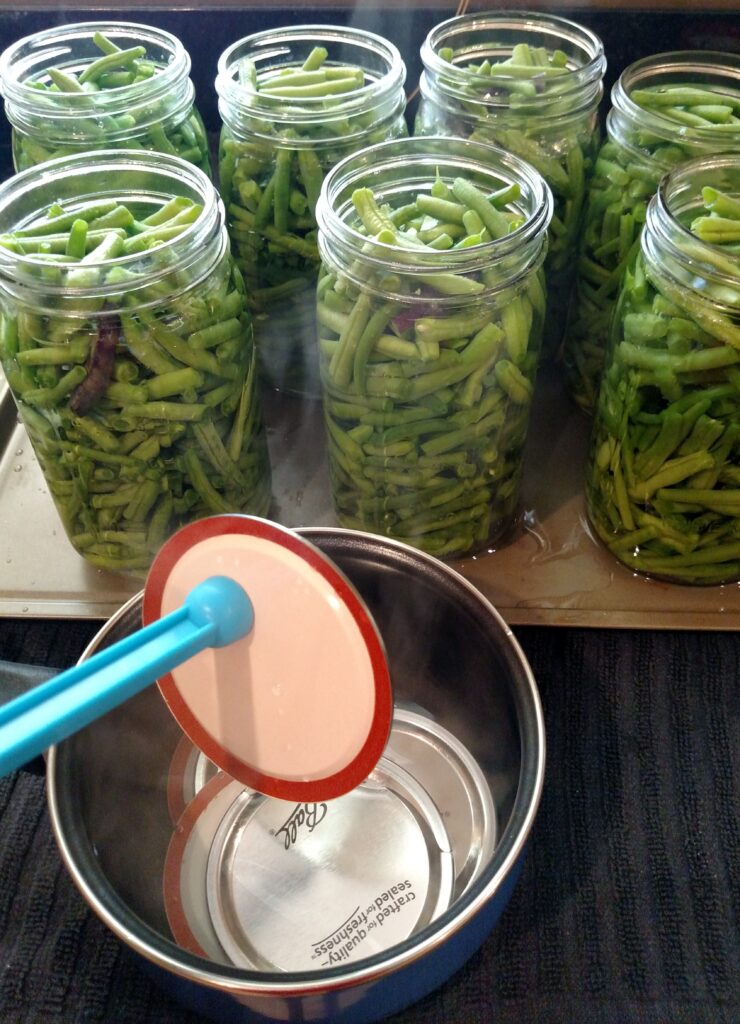
Pour boiling water into jars, leaving 1 inch of headspace.
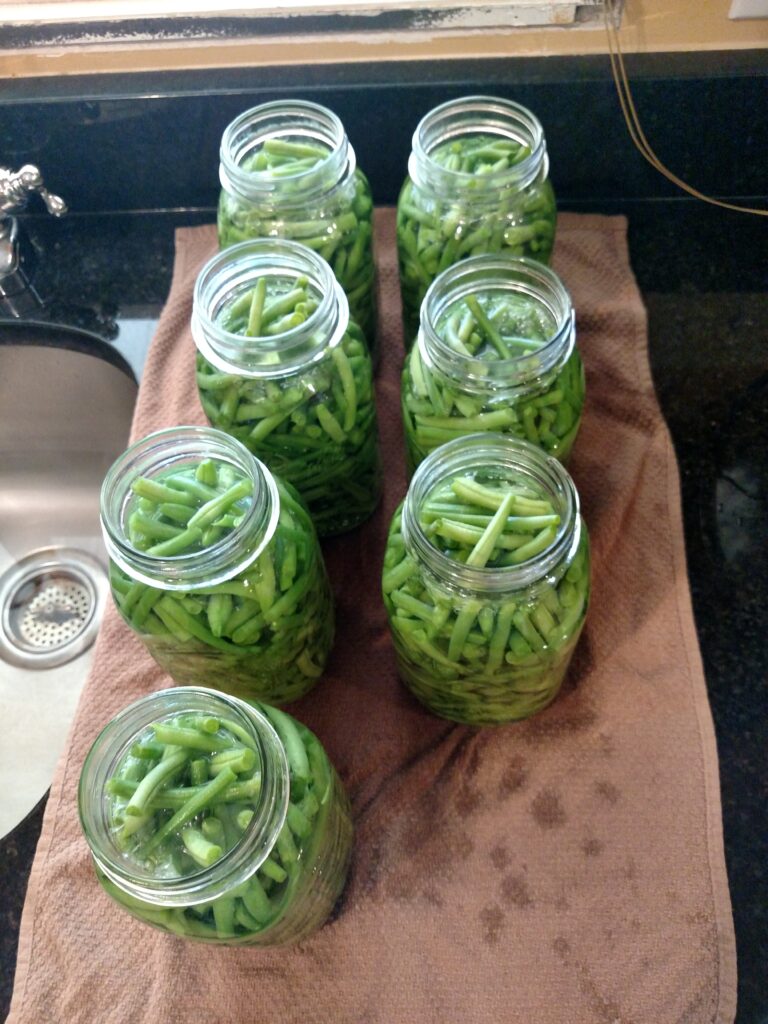
Wipe the rim of the jars with a clean, damp rag. You do not want anything to come between the jar and the seal of the lid.
Put the lids on the jars. Add the rings. They need to be tight enough that they do not loosen but not too tight.
Canning
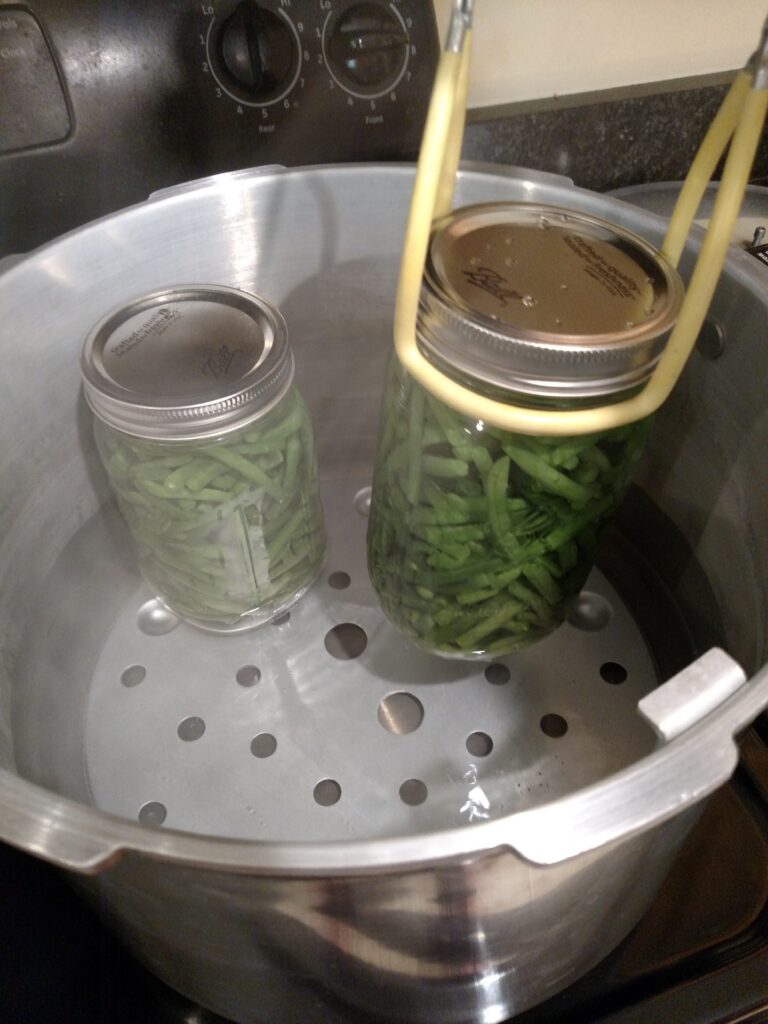
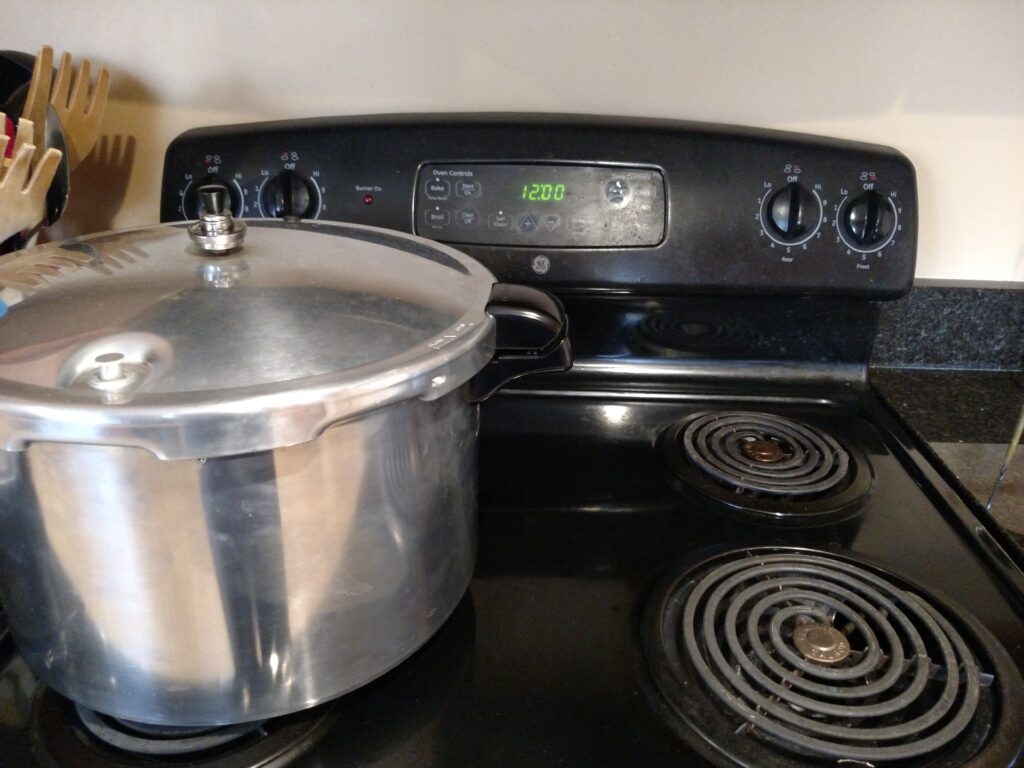
Lift the jars into the simmering canner, being careful not to bump them against each other or the pot. Always, always, use the rack that comes in the canner. You don’t ever want the jars sitting right on the bottom of the canner.
Put the cover on the canner and lock it into place. Keep the burner on a pretty high heat, 8 on my electric stove, and watch and listen for a steady flow of steam coming from the vent pipe. When you see or hear the steam coming out steadily, set the timer for 10 minutes.

At the end of 10 minutes, put your pressure regulator on the vent pipe. It hisses at you when you do that, but just do it quickly. It is OK. For green beans, you want 10 pounds of pressure so see your booklet for just what parts you need to accomplish that.
Now that your regulator is on, continue heating the canner until the regulator begins to rock. That is the point that you start your timer for the processing time. Somewhere in this time, the air vent/cover lock pops up. To can pints of green beans, process for 20 minutes and quarts for 25 minutes. I set my timer for 25 minutes for my quarts. You want the pressure regulator to be rocking steadily but gently; not too hard. I always turn the heat down a bit at this point; to about 5 on my stove, so medium heat. Check it though; keep the pressure regulator rocking gently.
When the timer goes off, turn the burner off and remove the canner from the burner. Just let it sit undisturbed until the pressure drops. Do NOT do anything to speed that process along! It must do it on its own. This takes at least 30 minutes, usually more. Do not remove the pressure regulator. Do not try to remove the lid!
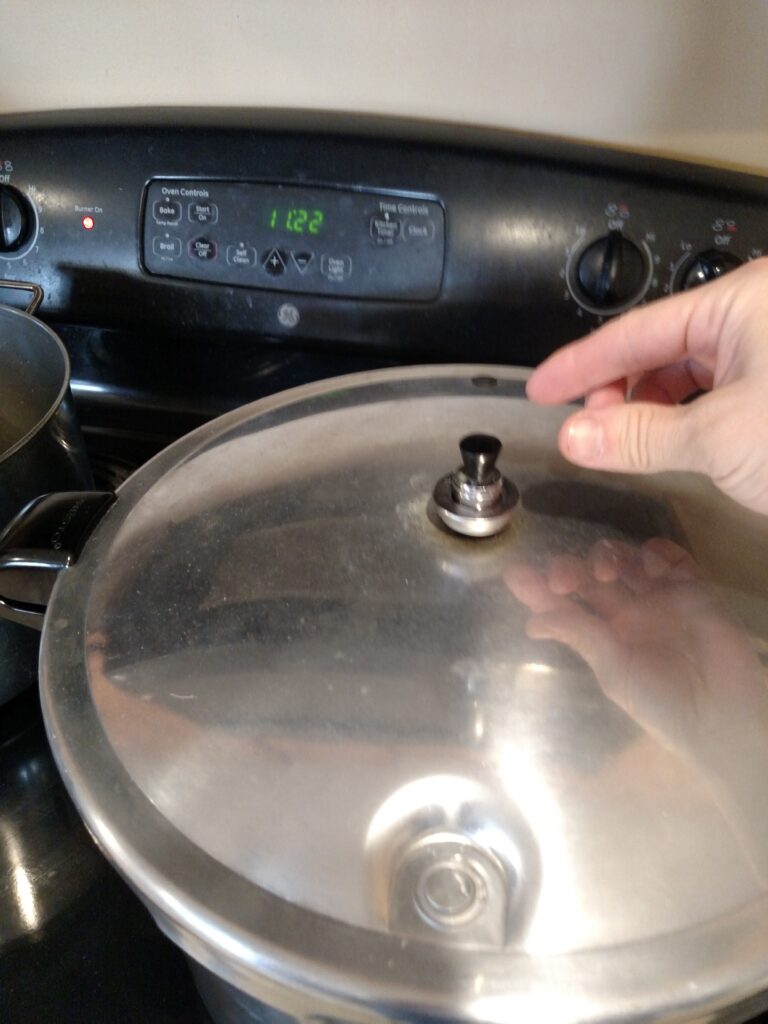
Be sure the air vent/cover lock has dropped. At this point, you can remove the pressure regulator. You can see on my stove clock that it took 38 minutes.

Wait 10 more minutes to remove the lid. When you do, be sure that you open the lid away from you so that any steam that comes out—and there will be plenty!—will not be in your face. If it sticks or is hard to turn to remove, just wait a bit more to be sure the pressure has dropped enough.
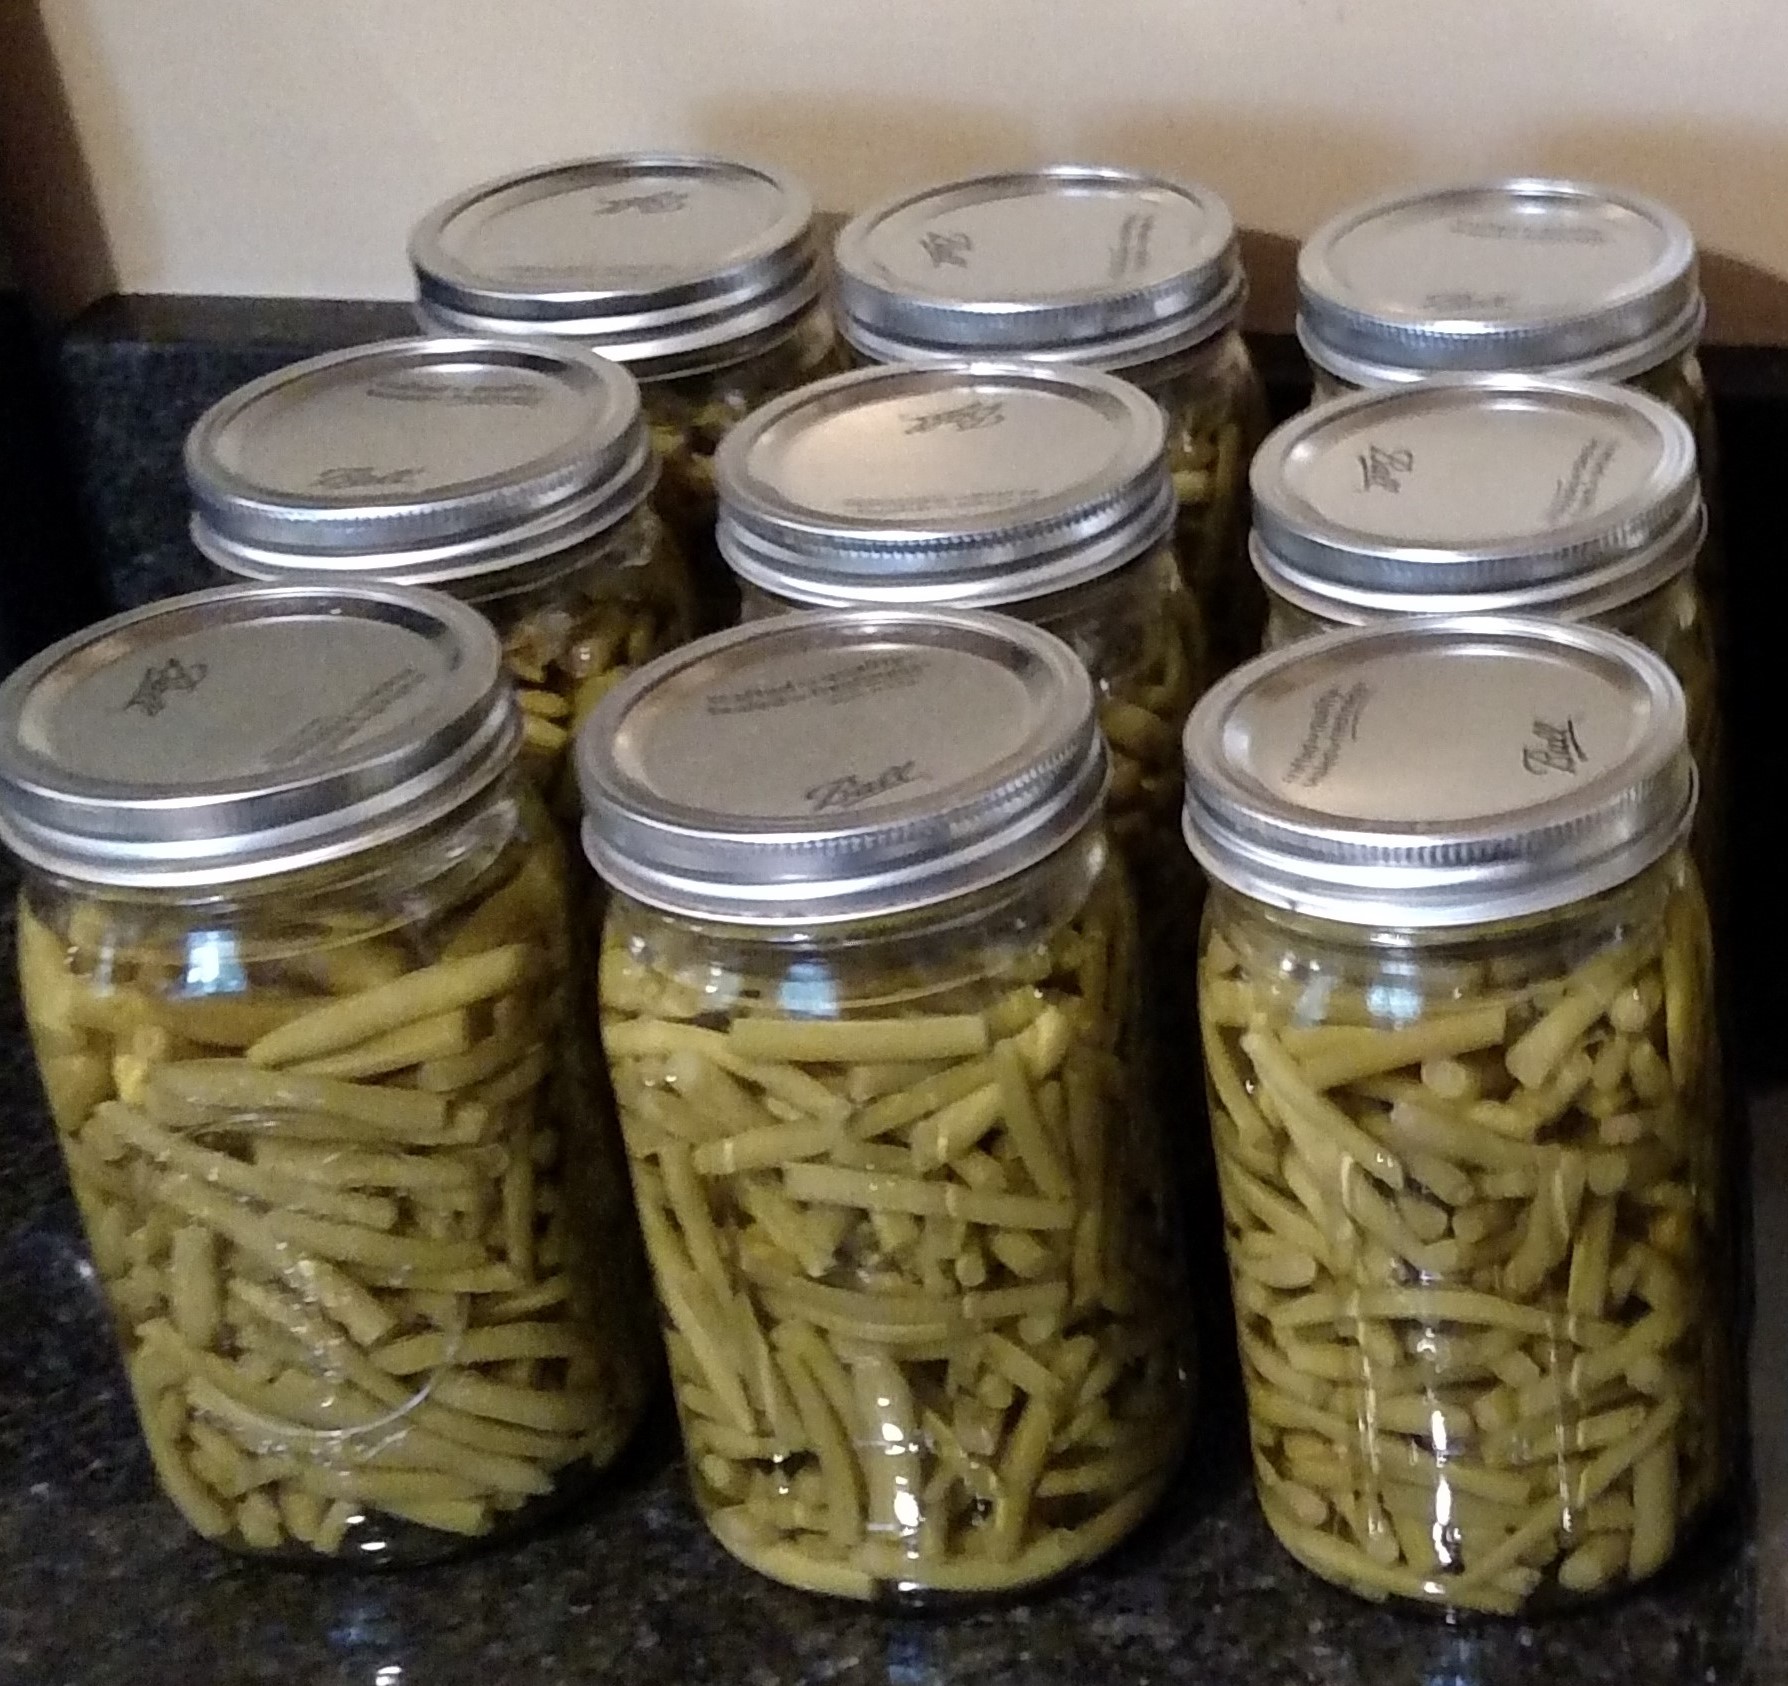
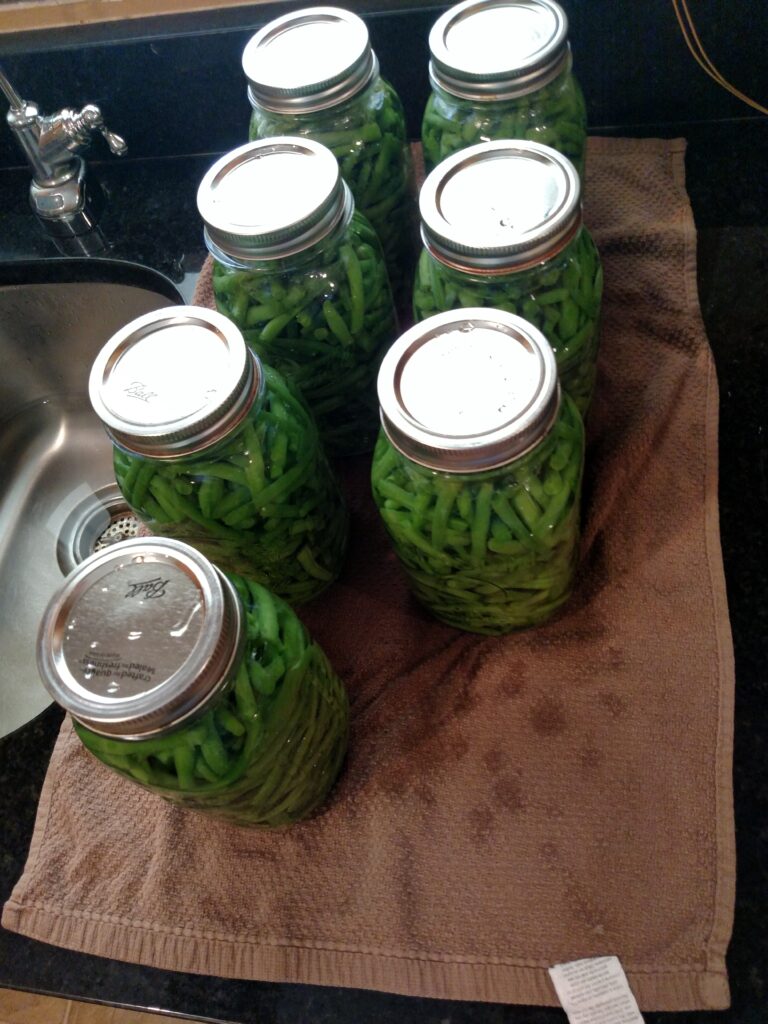
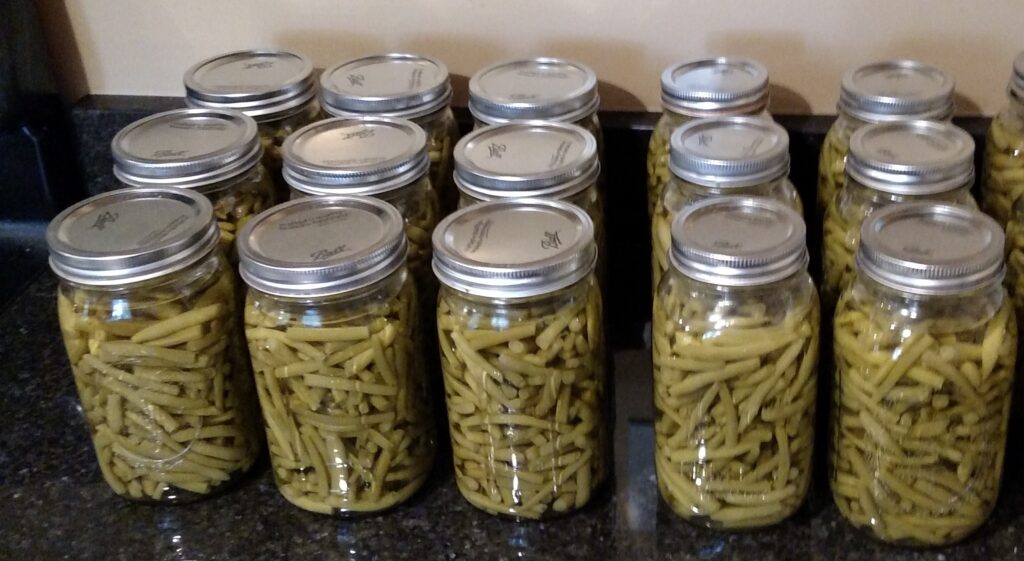
Wait another 5 minutes or so to remove the jars from the canner; again, slowly and carefully so not to bump them against each other or the canner. Also, keep them as upright as possible. Put them on a towel at least an inch apart to cool completely. I usually let them sit right where they are for at least 12 hours just to be sure. Listen for the music of canning; Pop, POP, pop!! If there are any that don’t seal, repeat the process or just put them in the refrigerator to use first.
Oh, isn’t that a gorgeous sight! 🙂
(Note that this picture was taken after they were cooled overnight. Before then, they were sitting on a towel so there was no shock to them. Always lift them out onto a towel.)
As an Amazon Associate, I earn from qualifying purchases at no extra cost to you.

Supa Ant Pressure Canner 23 Qt Starter Kit – Pressure Canner, Water Bath Canner & Supplies
Buy Now →
T-fal Pressure Cooker Aluminum Pressure Canner, 22 Quart
Buy Now → Buy Now →
Canning Supplies Essentials Boxed Set 6 Piece
Buy Now → Buy Now →
  Buy Now →
400 Dissolvable Canning Labels
Buy Now →
Canning Lids and Rings, wide mouth Set of 12
Buy Now →
Canning Lids with Rings For Mason Regular Mouth, 28Lids + 28Rings
Buy Now →
Ball Complete Book of Home Preserving
Buy Now →If you make it, play it or use it, let me know! Rate it and leave a comment below. I love hearing from you!
Be Sure to Pin so you can find it easily later!
Are you following me on Pinterest? I have been working very hard making new boards I think you will love and am adding dozens of new pins from all of the popular homeschooling websites!
Come join us on our Facebook page, Loving Homeschool. I am adding daily pictures, links and much more than I would on the blogs and it is a place for you to find support from others on the same journey as you are. Come and share with others, ask questions and learn! And if you love recipes, follow my Best Recipes You Will Want To Make group on Facebook! Feel free to share your own favorites and find many new ones there!
I enjoy offering free printables and resources to bless my readers. Your frequent visits to my blog and purchases through affiliate links and ads keep the lights on so to speak. Thank you!

Cindy
Welcome! I am a wife, mother, mother-in-law, Grammy, daughter, sister and retired homeschooler. I enjoy writing about things I have learned over the years, sharing recipes and tips with others and making free printables for parents and teachers.