As an Amazon Affiliate, I earn from qualifying purchases at no extra cost to you.
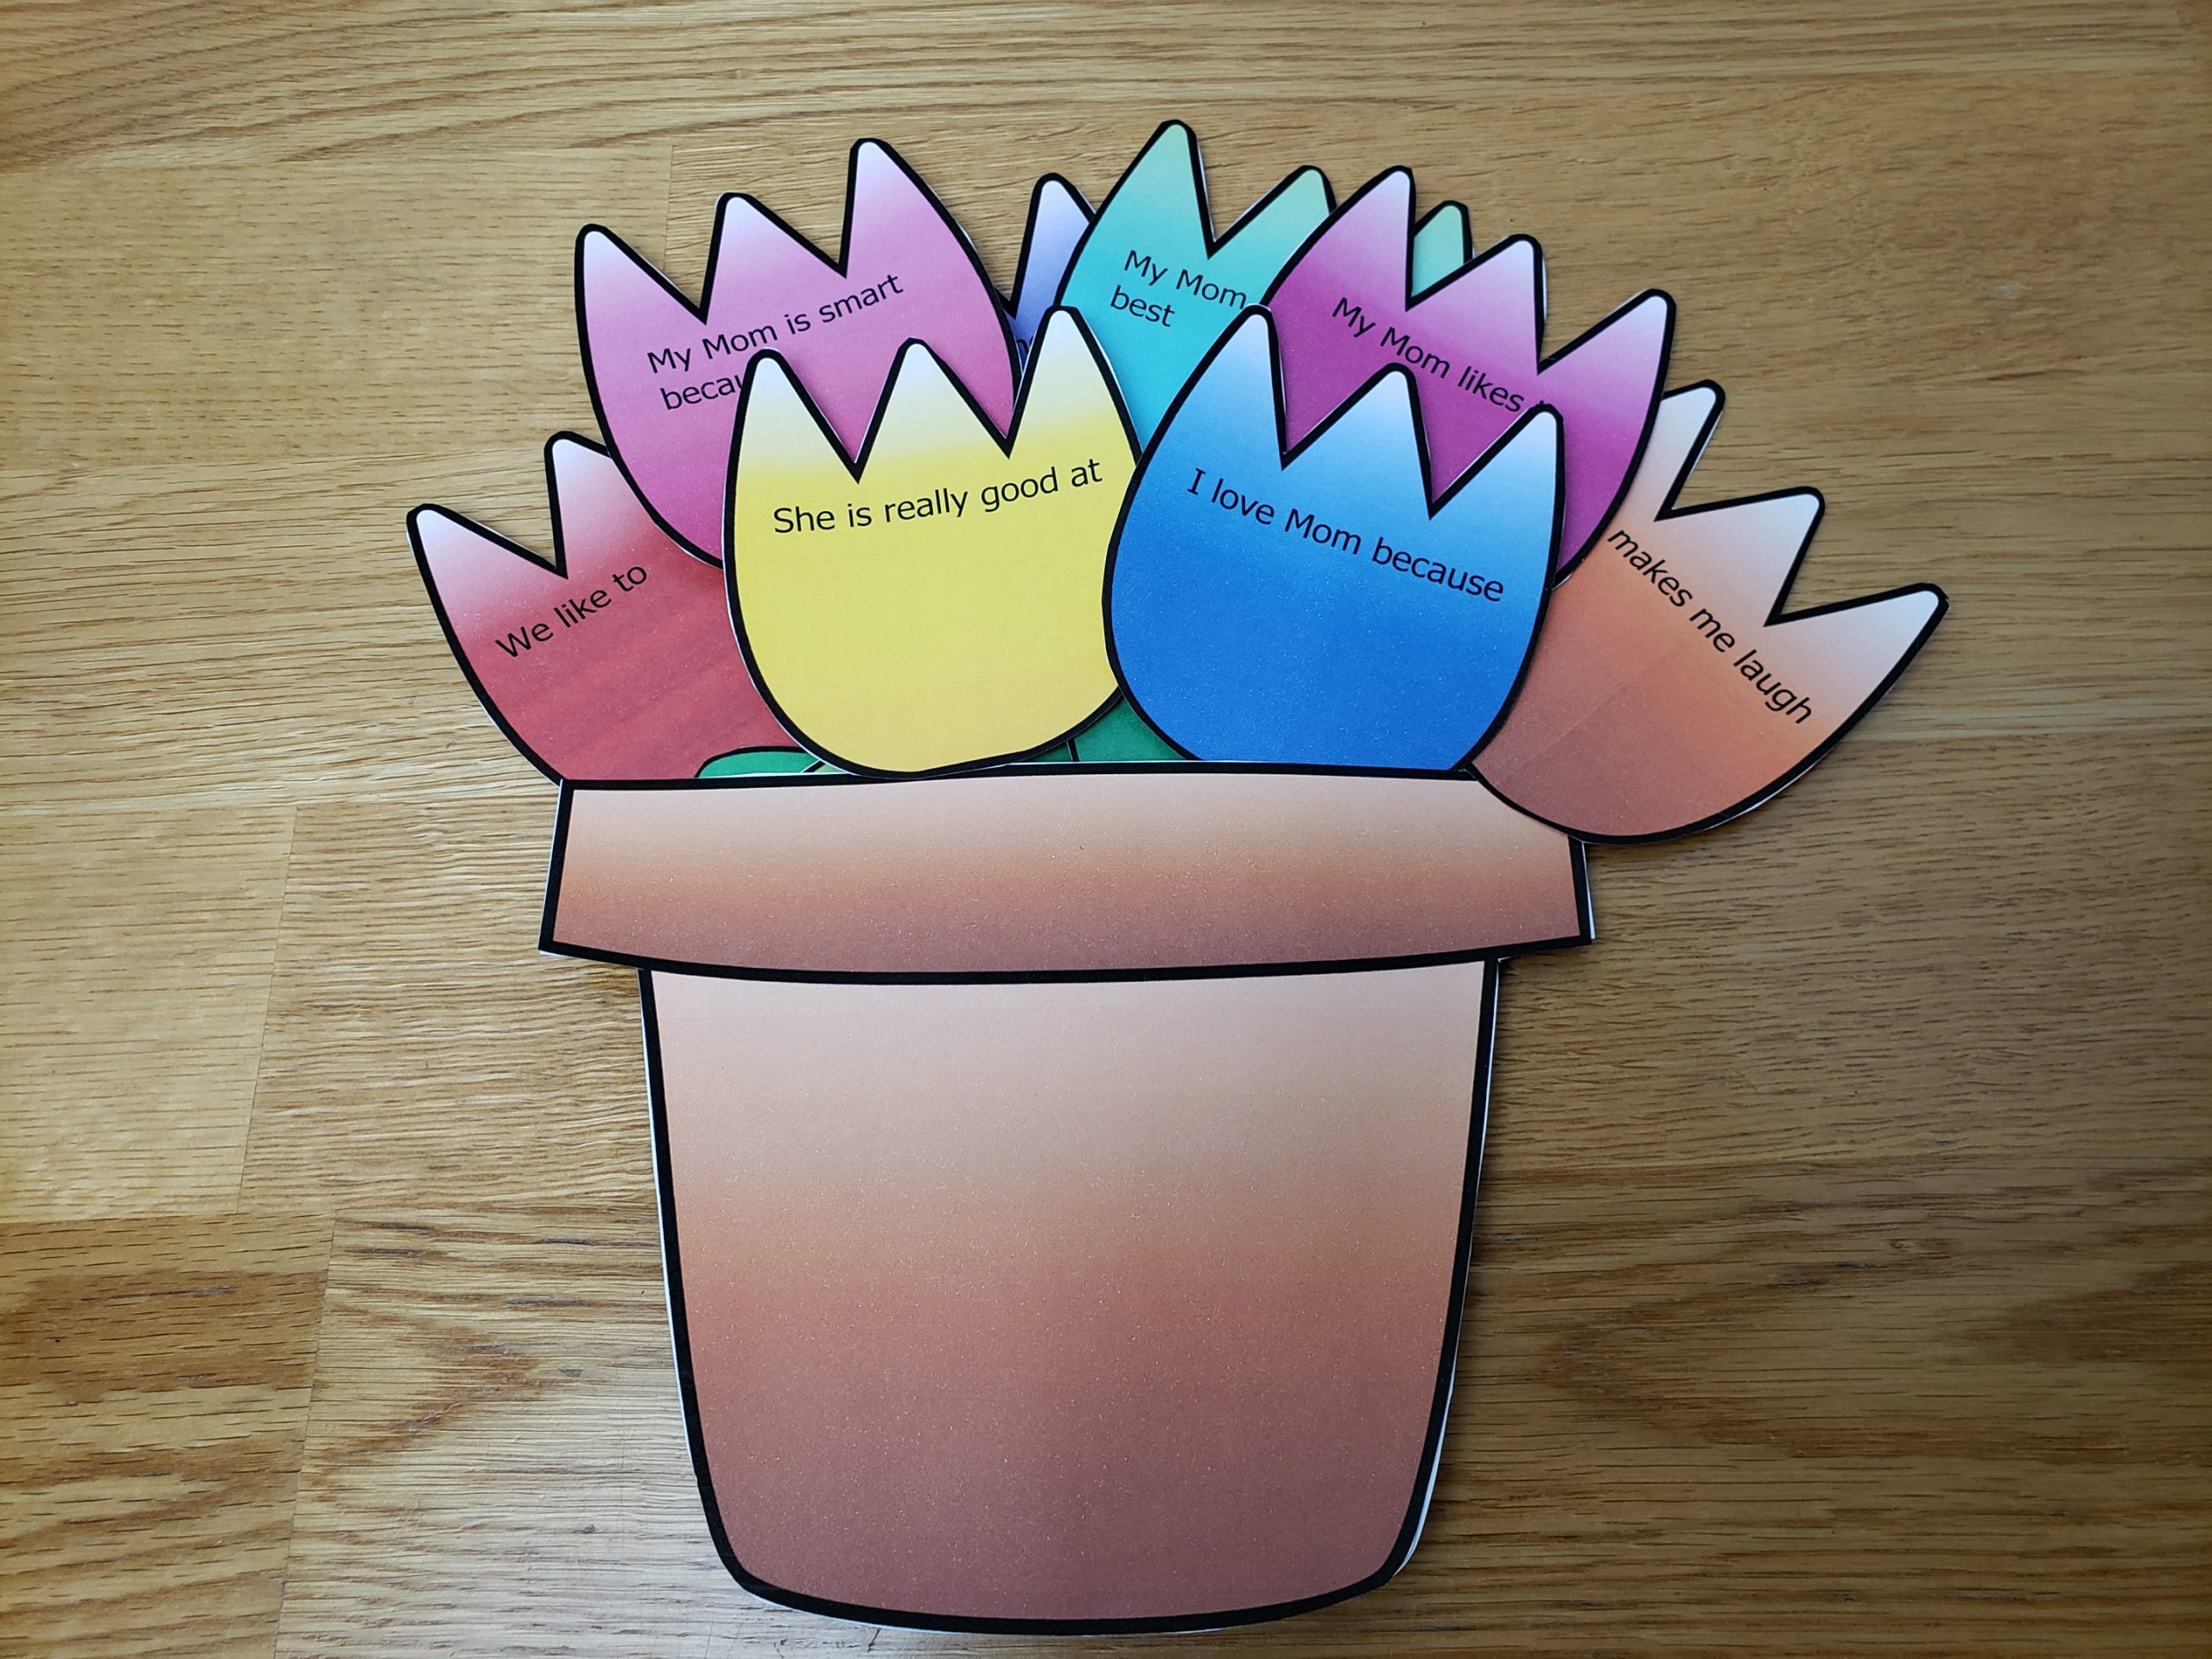
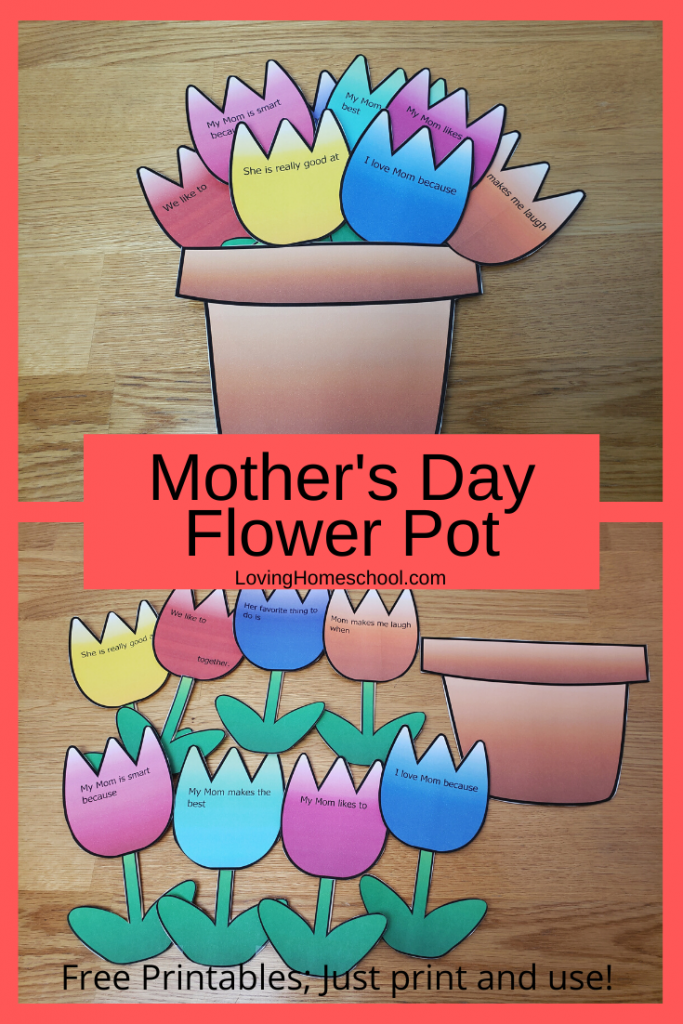
Free Mother’s Day Flower Pot Craft: A free printable for a beautiful, durable, personalized homemade flower pot for Mom! Print in color or black and white to color yourself!
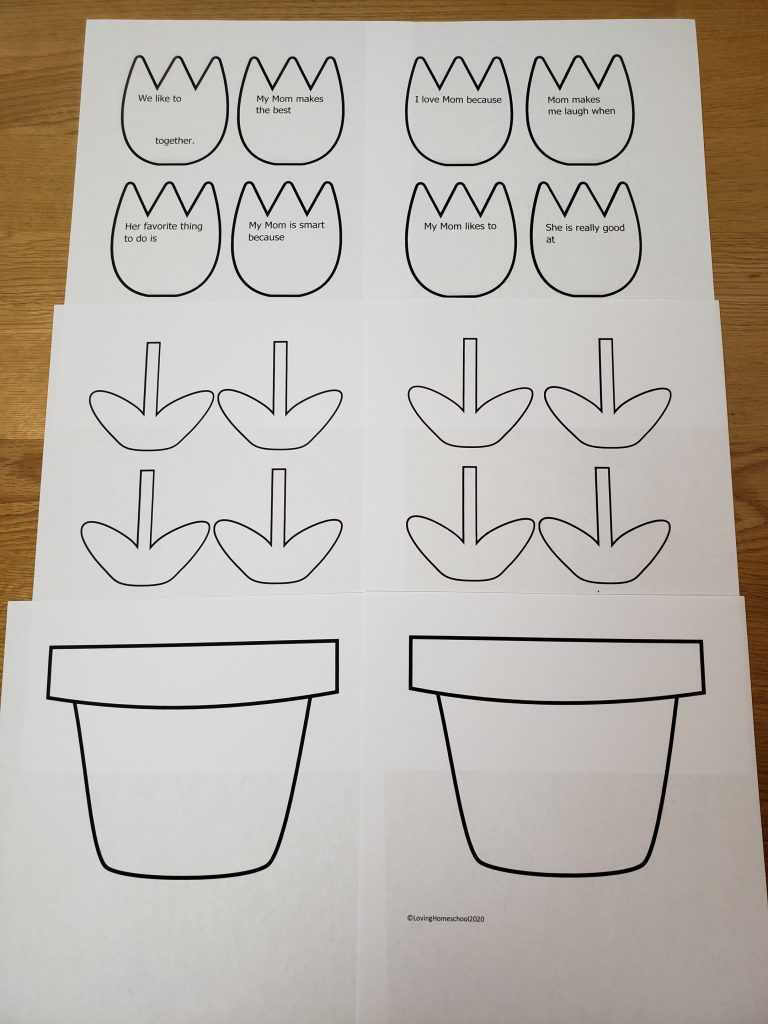
The best gift for Mom is something that is homemade and has personality and thought behind it. This Free Mother’s Day Flower Pot Craft will be something your Mom will want to keep for years to come. It is pretty and something that even multiple children can make with different results.
Older children can fill out the flowers in their own handwriting. It’s okay for a younger child to dictate the answers to be filled in by someone else. Mom will love what her child comes up with about her.
Other Mother’s Day Posts
Mother’s Day Gift Ideas for all ages; Dozens of lovely ideas for handmade crafts, cards, keepsakes, decorations and more that Mom will love!
Over 30 Free Mother’s Day Cards and Printables for Mom and Grandma; cards to color and make, all about them pages to fill out and more!
Free Printable Mother’s Day Card: A free card for your child to color and sign for Mom! Just print and use!
Free About my Mom Printable is a wonderful way to record memories about your child’s perception about their mom! A great gift!
Free Mother’s Day Flower Pot Craft: A free printable for a beautiful, durable, personalized homemade flower pot for Mom! Print in color or black and white to color yourself!
Follow my Mother’s Day Pinterest Board for dozens of ideas from all around the web! I am constantly finding new things to add so there will be new things all the time!
Copyright
These printables are free for personal, home and classroom use. This means you are welcome to print as many copies as you need for use with your own kids, personal classroom, etc. Please do not mass produce these. Please refer fellow teachers or friends to this website to print off their own copies for their use.
Supplies you need:
A printer with ink
Tape or glue
A pen or marker to fill in the answers
Crayons or markers to color if you print the black and white option
Popsicle sticks if you want to reinforce the flowers
Magnetic tape if you want to put it on the refrigerator
Two Versions:
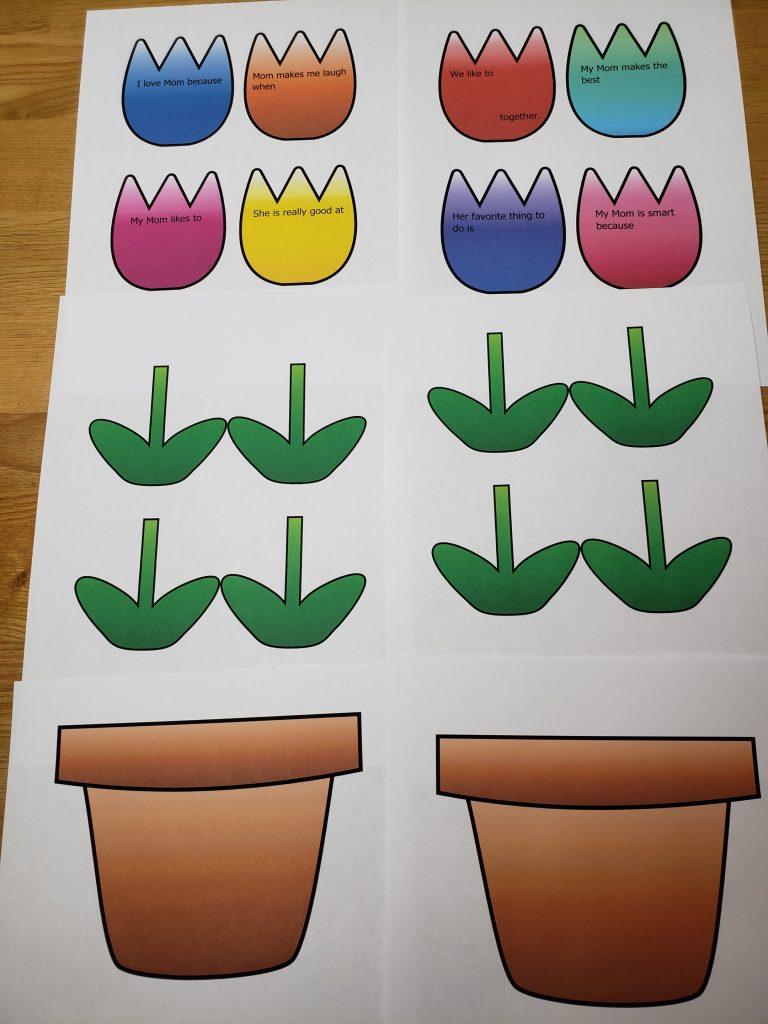
Option one already has colors to simply print. This is beautiful and quick and easy but does take a lot of ink so I wanted to give another option.
Download the Mother’s Day Flower Pot Craft in color
Option two is a black and white version that can be printed on colored paper or printed on white paper and colored by the child to save ink. This is especially good if you have a child who loves to color. Definitely have them color before cutting out the pieces. It is much easier that way.
Download the Mother’s Day Flower Pot Craft in black and white
Printing:
The most durable option will be card stock. If you want your bouquet to last a long time, that would be a great idea. See below to help your flowers stand; that is also a good way to make them durable and works well too.
**Important! Make sure you have your print setting NOT to print on both sides of the paper for this!
Help your flowers stand:
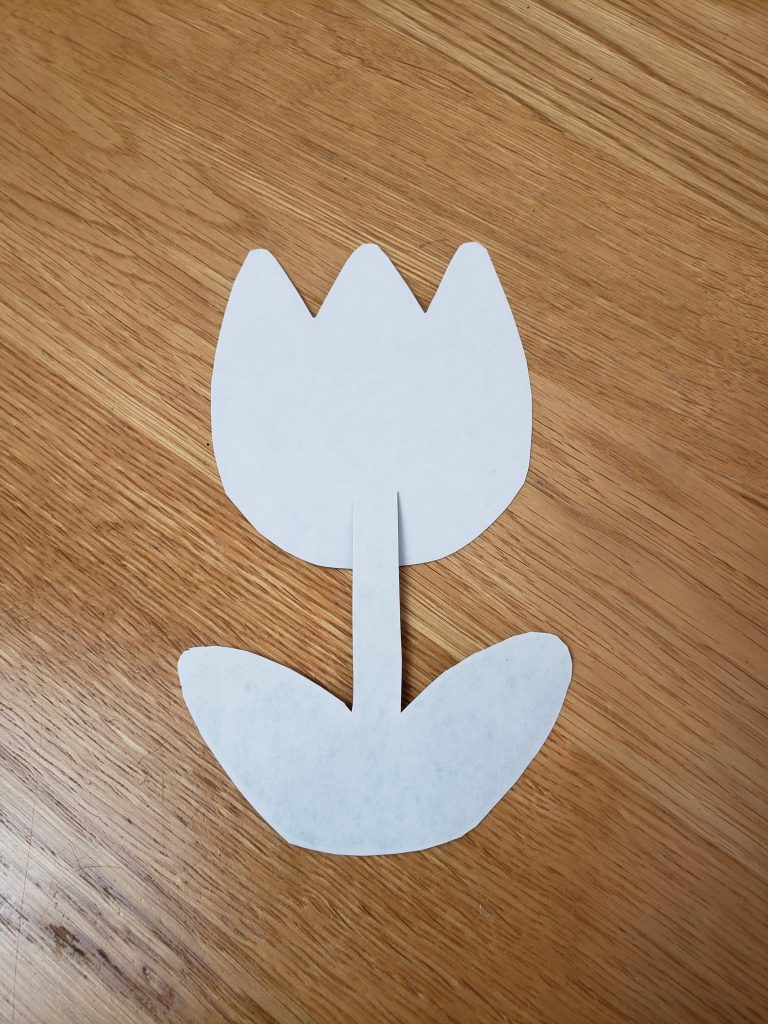
Another way to give your paper stability is to tape or glue a popsicle stick behind the flower stalk and flower as shown below. This worked very well for me. See the step by step pictures to see how I did it.
Overlap the stem just a little bit over the flower.
Line up the popsicle stick so it covers both pieces well.
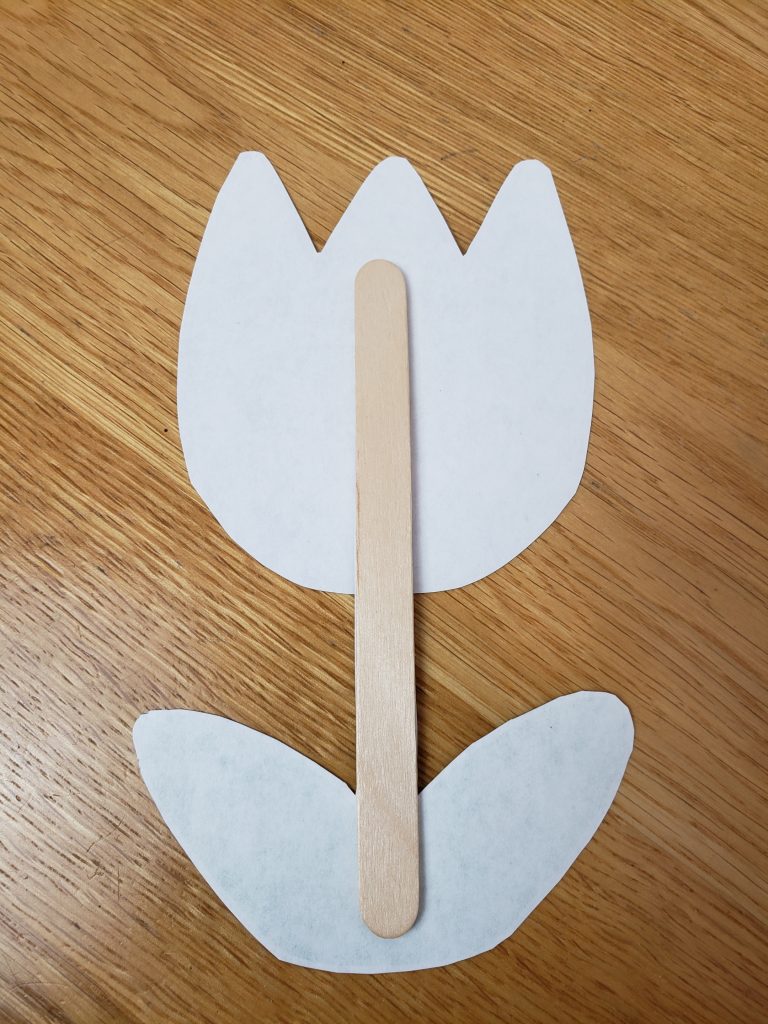
Put a piece of tape long ways on the flower piece and width ways on the stem piece.
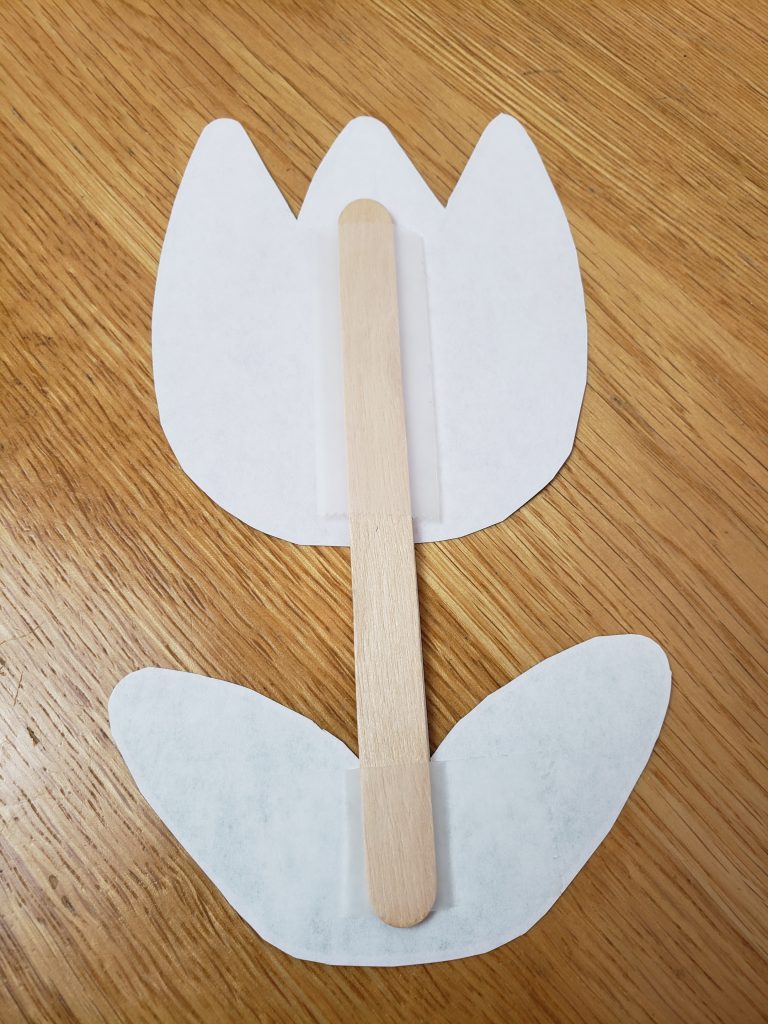
Use your nail to push the tape against the popsicle stick well.
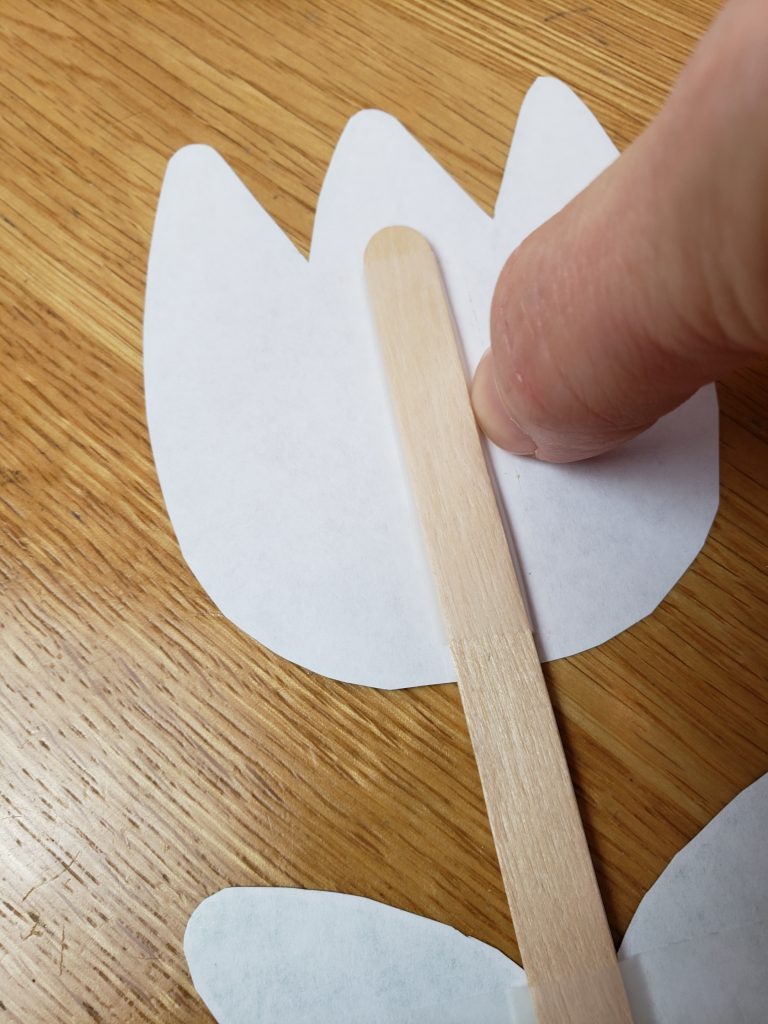
You shouldn’t be able to see the tape. If it is a little too long, you can fold it around the flower if it is transparent enough or just cut it off carefully.
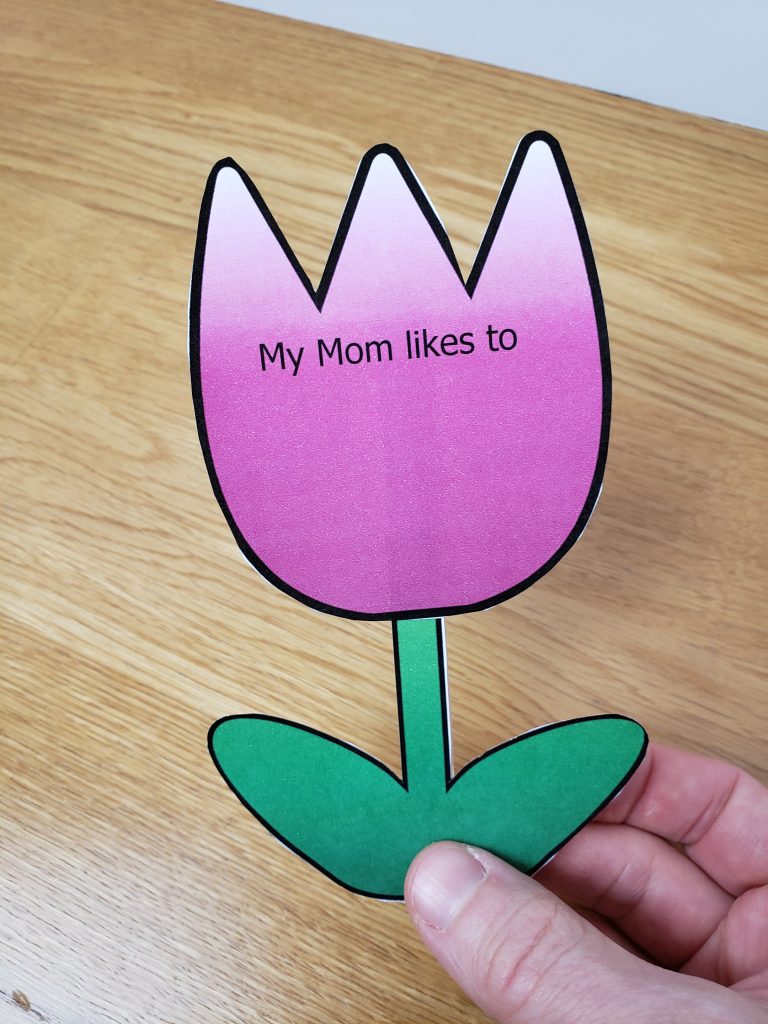
Ways to display your bouquet:
In the printable flower pot; glue, tape or staple the two pieces of the pot together and you will have a flower pot to put your flowers inside. Mom can tuck it anywhere she would like to see it often. Gluing is your best option here, as tape or staples will show. Put the glue around the edges like this but not on the top edge. You want to be able to put the flowers in the top.
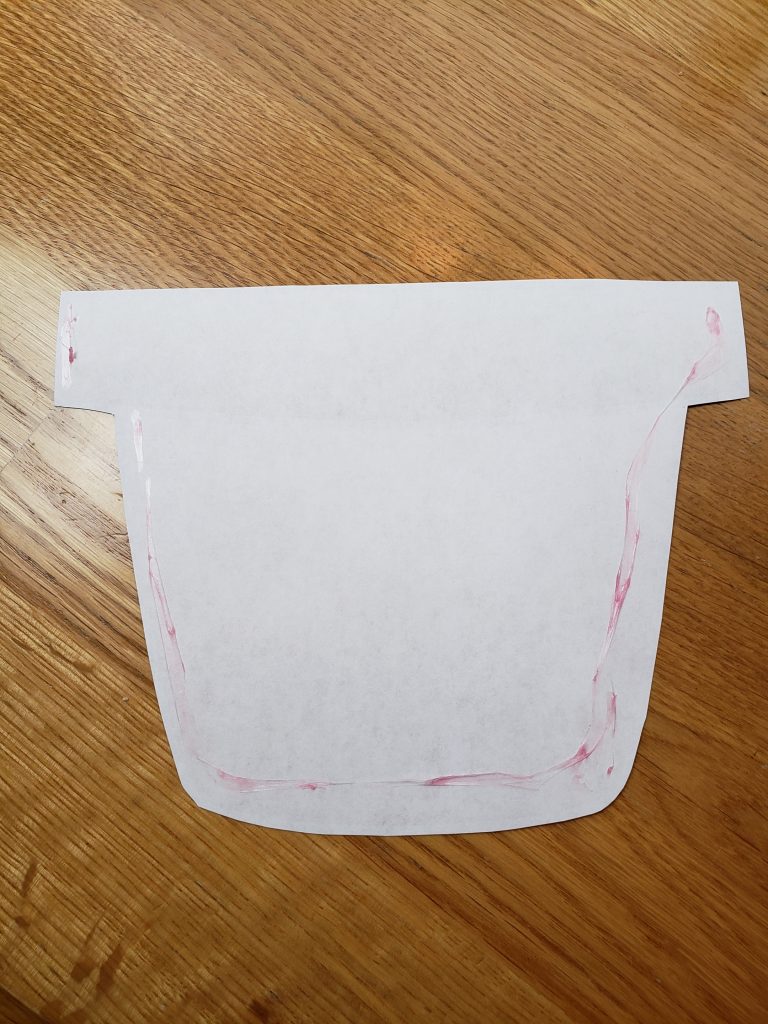
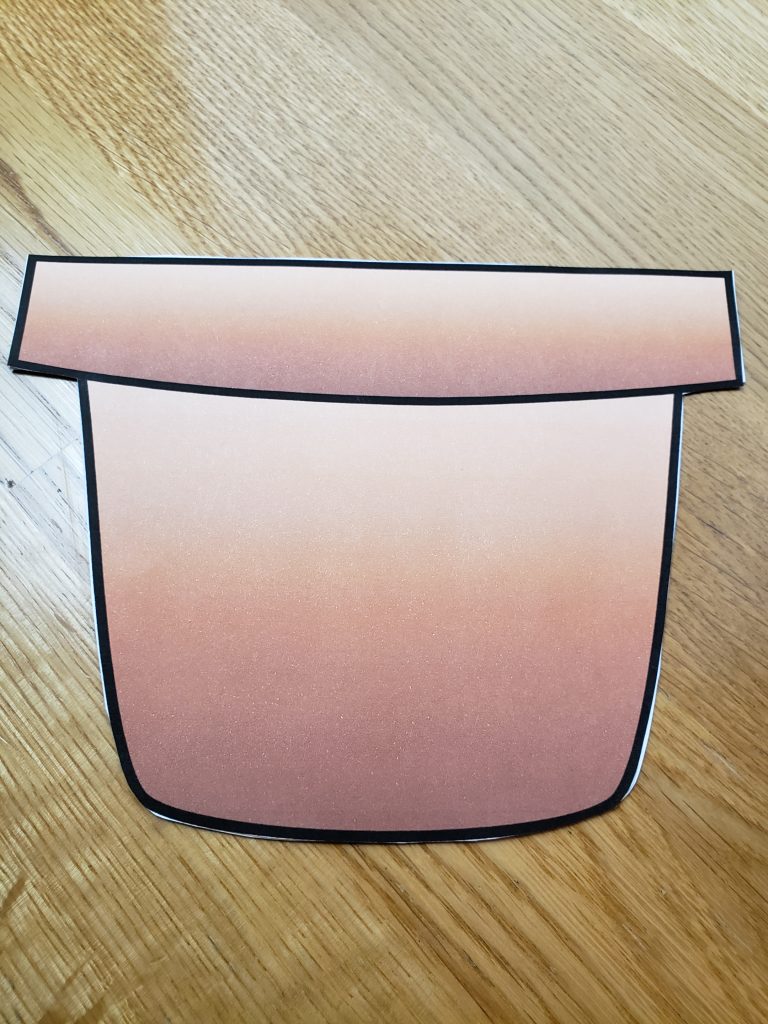
My favorite idea is to attach a short strip of magnetic tape to the back of the pot and put it on the refrigerator.
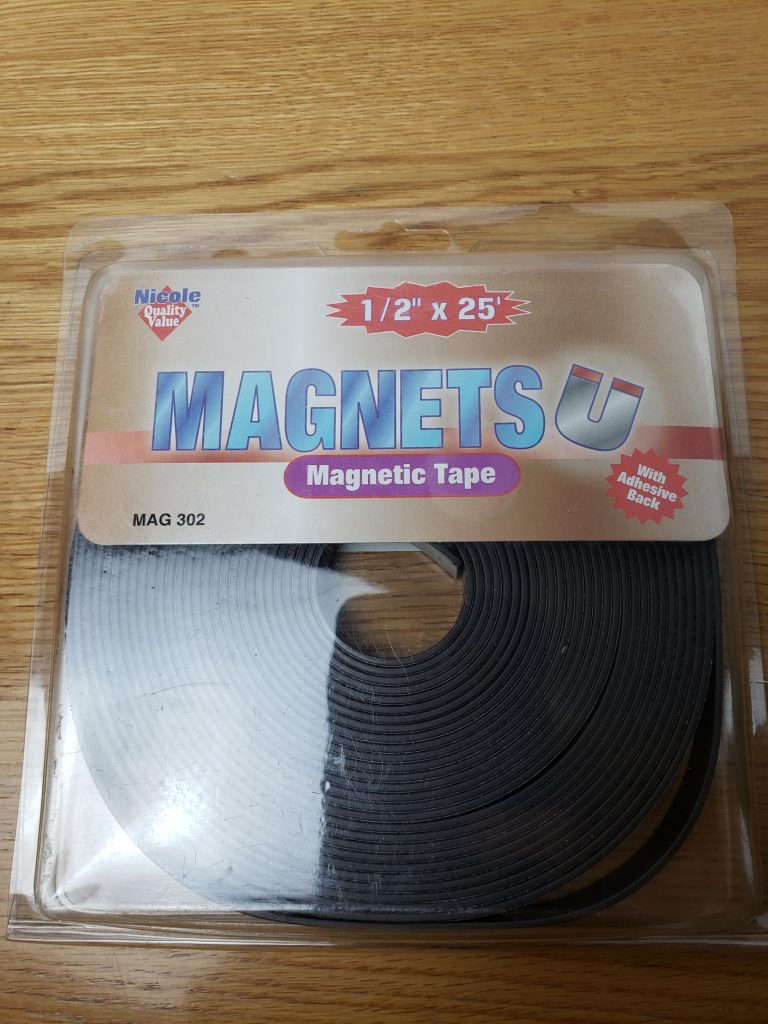
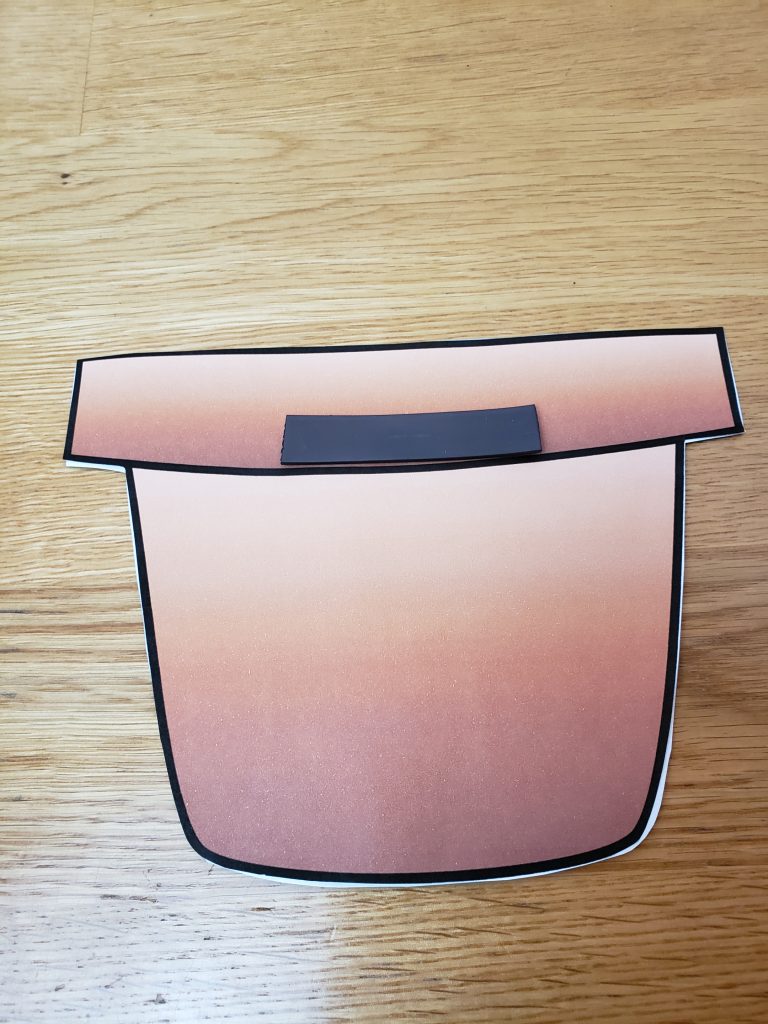
(Hint: I put a tissue in the bottom to give the flowers a little boost.)
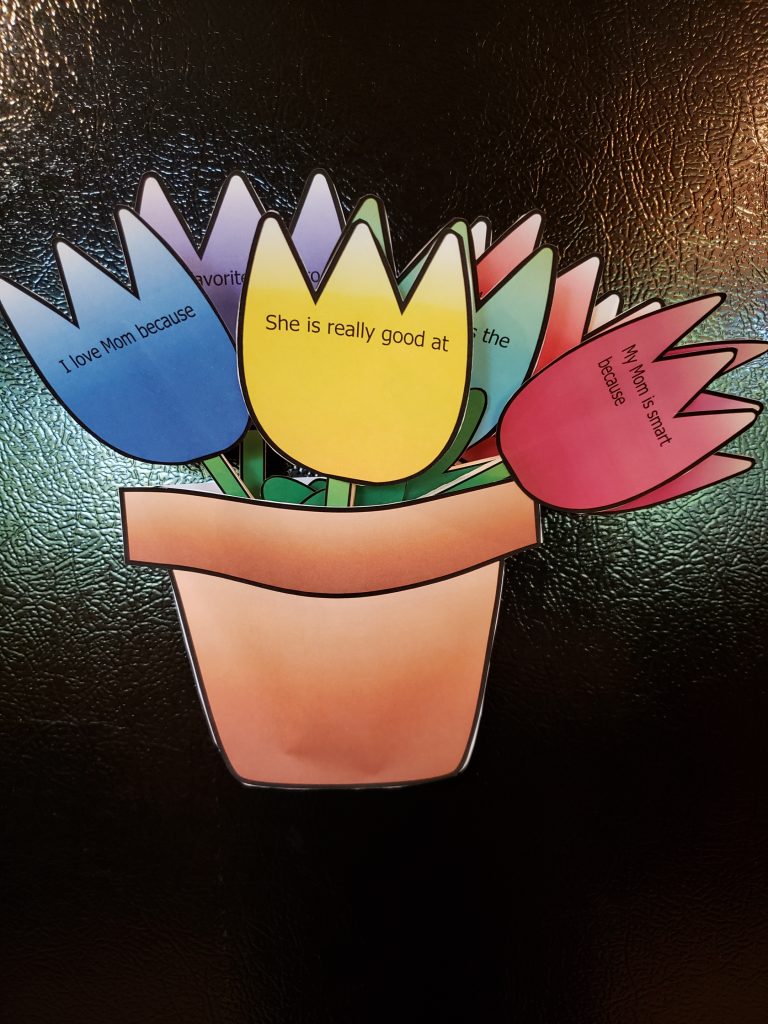
If you have plenty of refrigerator space and want to see all of the flowers well, you could also do away with the pot and add a small strip of magnetic tape to each flower and display all of the flowers on the refrigerator.
In a real flower pot: attach your stem and flowers to a popsicle stick with some stick showing at the bottom to stick into the dirt of the flower pot. (You will just move the popsicle stick down an inch or so when you tape it.) Note that if the dirt is very wet, the water will soak up into the wood of the popsicle stick over time and ruin your flowers.
Hint: If you want to use just the flowers, you can change the print settings to print just pages 1-4 to save ink.
And here is a beautiful homemade Mother’s Day card you can make for Mom to go with it! 😊
Be Sure to Pin so you can find it easily later!
Want to know the best way to thank a blogger for a great recipe, printable or roundup? Leave a kind comment and 5-star review on their site and share it with your friends!
Are you following me on Pinterest? I have been working very hard making new boards I think you will love and am adding dozens of new pins from all of the popular homeschooling websites!
Come join us on our Facebook page, Loving Homeschool. I am adding daily pictures, links and much more than I would on the blogs and it is a place for you to find support from others on the same journey as you are. Come and share with others, ask questions and learn! And if you love recipes, follow my Best Recipes You Will Want To Make group on Facebook! Feel free to share your own favorites and find many new ones there!
I enjoy offering free printables and resources to bless my readers. Your frequent visits to my blog and purchases through affiliate links and ads keep the lights on so to speak. Thank you!
