As an Amazon Affiliate, I earn from qualifying purchases at no extra cost to you.
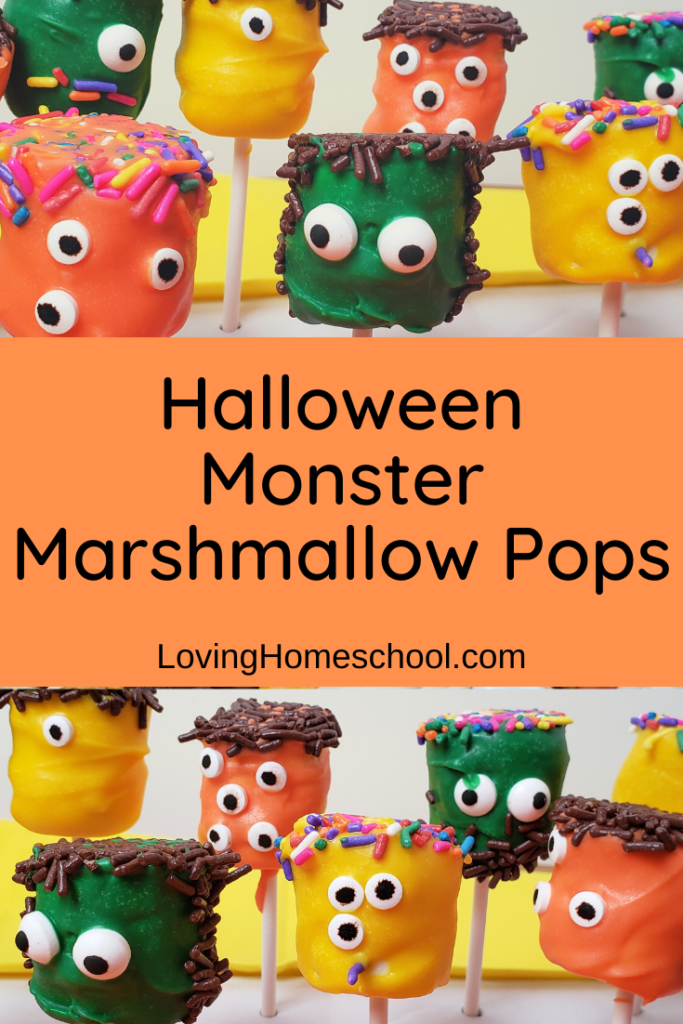
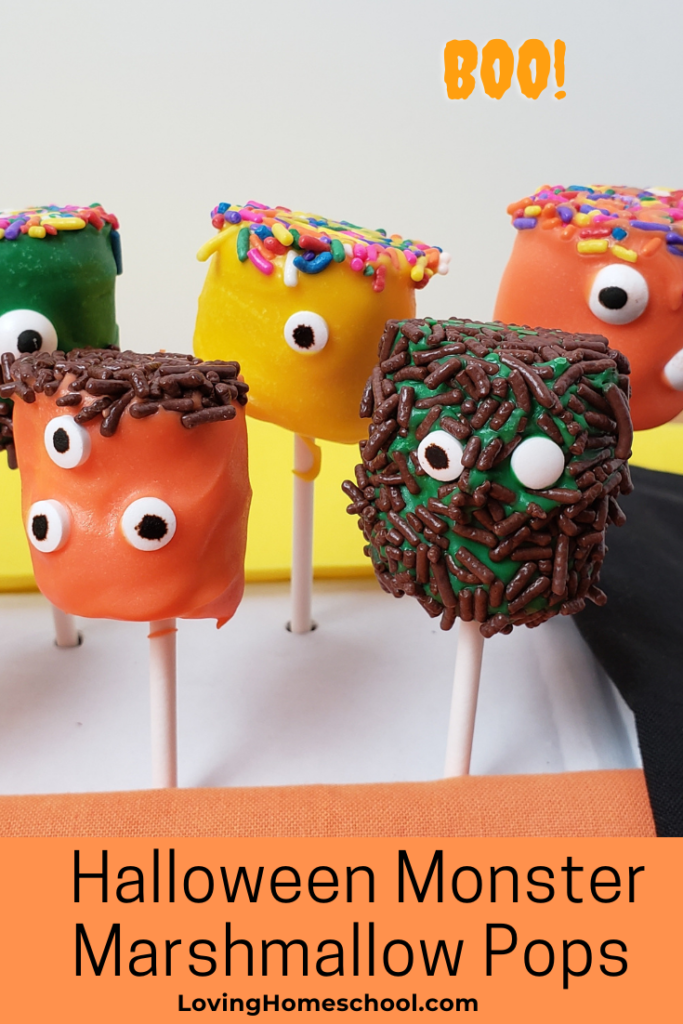
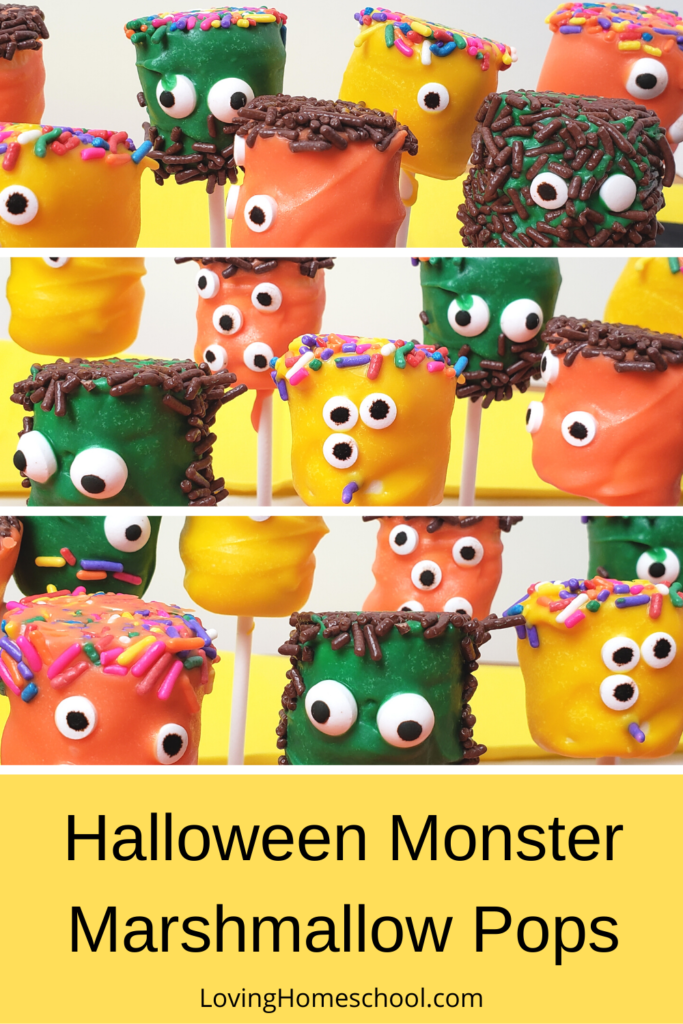
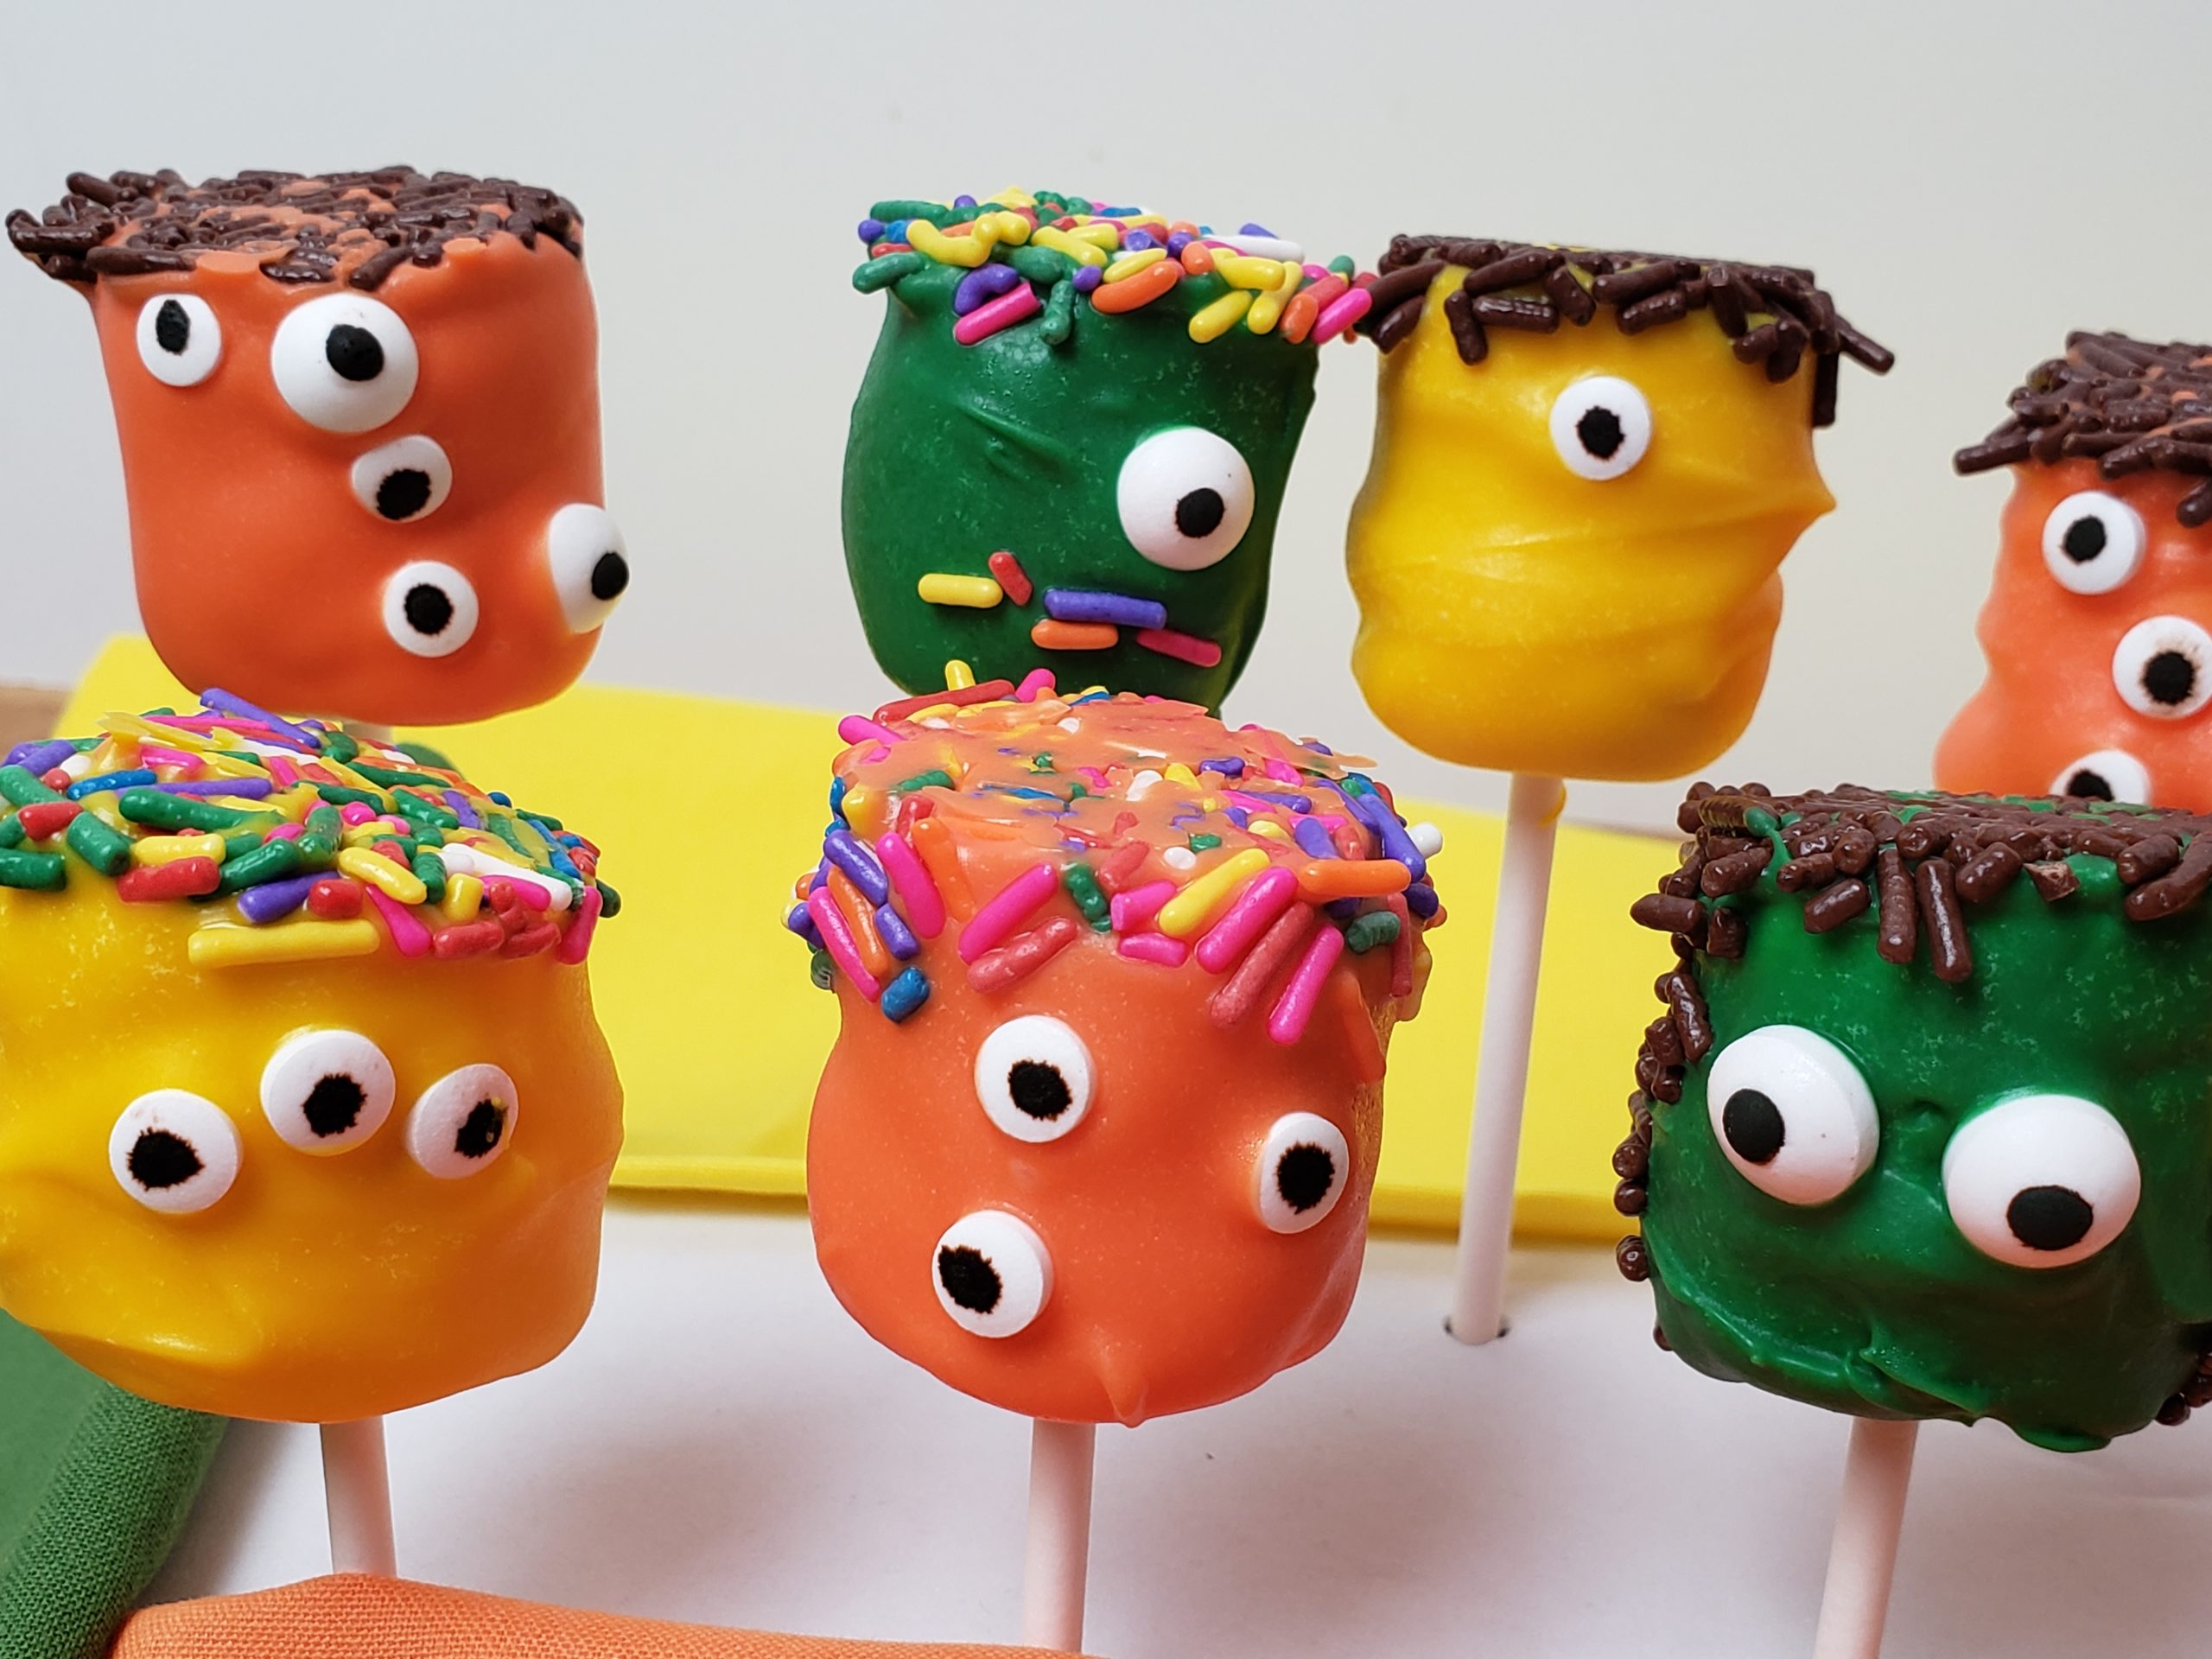
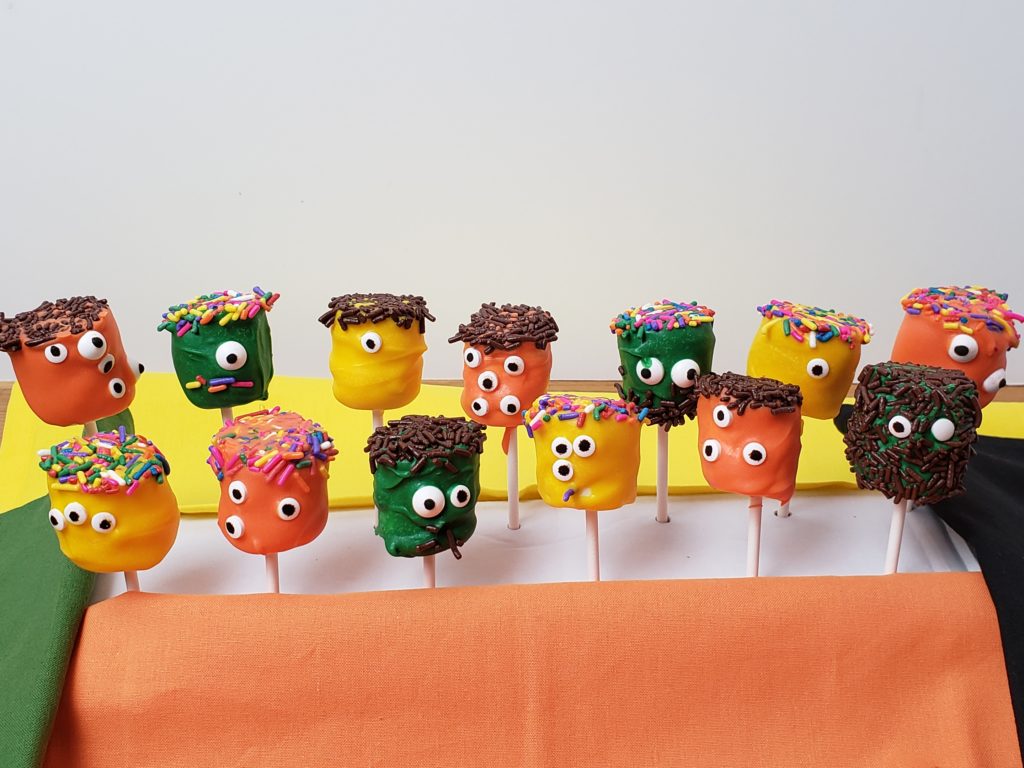
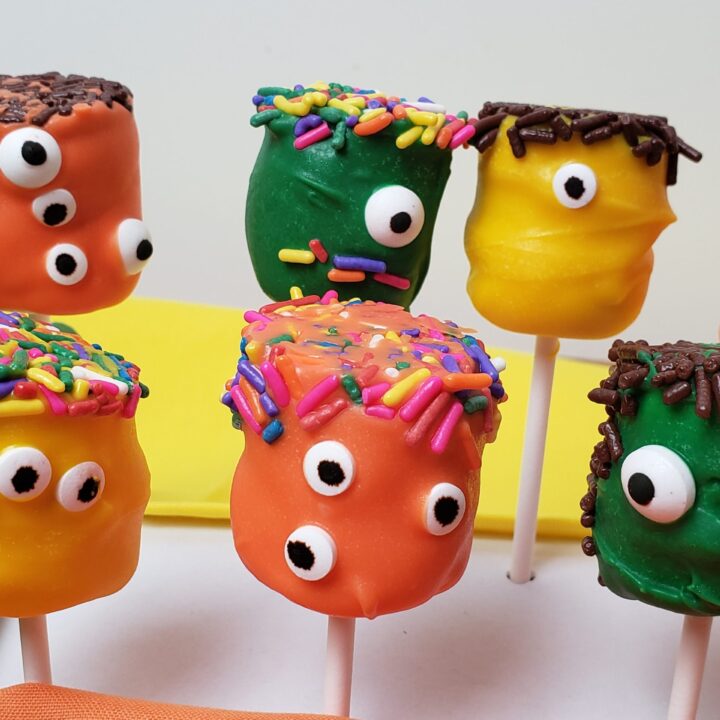
These Halloween Monster Marshmallow Pops are fun to make and fun to eat! The whole family will enjoy being creative and making monsters together.
Don’t save this snack just for the little kids! Even the adults enjoy making and eating these Halloween Monster Marshmallow Pops!
I was going to just make them up but was running short on time so put things out for my husband and two 20-something sons to help me after dinner. I am so glad I did! We had so much fun!
These Halloween Monster Marshmallow Pops are a great family activity to make them together. They would also be fun for a Halloween party for the kids! Prepare bowls of different colors of the melted candy melts, bowls of different sprinkles and eyeballs and let them go! Younger kids would need some supervision but older kids wouldn’t need much or any. These are very easy to make!
The candy melts stay usable for a good long time too. I thought we would have to be remelting it but we didn’t. It stayed nice and soft for as long as we worked.
This recipe has been shared in Weekend Potluck. Head on over to these great sites for LOTS of new recipes each week!
Why I Love This Recipe
They are fun to make
They are fun to eat
They are just downright adorable!
They bring out the creativity of the whole family!
Other fun Halloween Games and Treats
Try these free printable Halloween How Many Words, Halloween word scrambles and Halloween word searches, both in 2 age levels. I also have 7 Halloween I Spy printables, 20 Halloween Coloring Pages, Halloween Bingo Printables, Halloween Memory Matching Game and Halloween Scavenger Hunt.
You will also love Halloween Sugar Free Deviled Jell-O Eggs, Fall Halloween Bark, Halloween Monster Marshmallow Pops, Halloween Scary and Gross Snack Mix and Fall Halloween Trail Mix for delicious and fun eating during the holidays. Both are quick and easy to make too! Halloween Bloodshot Eyes Deviled Eggs and Halloween Spider Deviled Eggs are a healthy and low carb treat.
Find lots of fun themed treats with 23 Ghost Recipes, 23 Spider Recipes, 15 Mummy Recipes, 13 Skeleton and Bone Recipes, 25 Monster Recipes, 30 Pumpkin themed Recipes and 30 Candy Corn Recipes.
Laugh like crazy with these 414 Halloween Jokes for Kids! My 100 Fun Halloween Party Foods post is full of sweet and savory foods to make a great party or even make meals at home fun for all of October! And don’t miss 50+ Halloween Printables, Games and Crafts; full of fun things to do in the weeks leading up to Halloween!
Follow my Halloween Pinterest Board for dozens of ideas from all around the web! I am constantly finding new things to add so there will be new things all the time!
As an Amazon Associate, I earn from qualifying purchases at no extra cost to you.

The Very Hungry Caterpillar’s Creepy-Crawly Halloween: A Lift-the-Flap Book
Buy Now →
The Halloween Tree: Build New Traditions with This Funny and Imaginative Book
Buy Now →
Creepy Pair of Underwear! (Jasper Rabbit’s Creepy Tales!)
Buy Now → Buy Now →
A Halloween Mystery! (Scooby-Doo and Friends)
Buy Now →
I Spy With My Little Eye Halloween Haunt & Find
Buy Now →How to Store Halloween Monster Marshmallow Pops
Store in the refrigerator in a Ziploc bag or container with a lid.
Key Ingredients
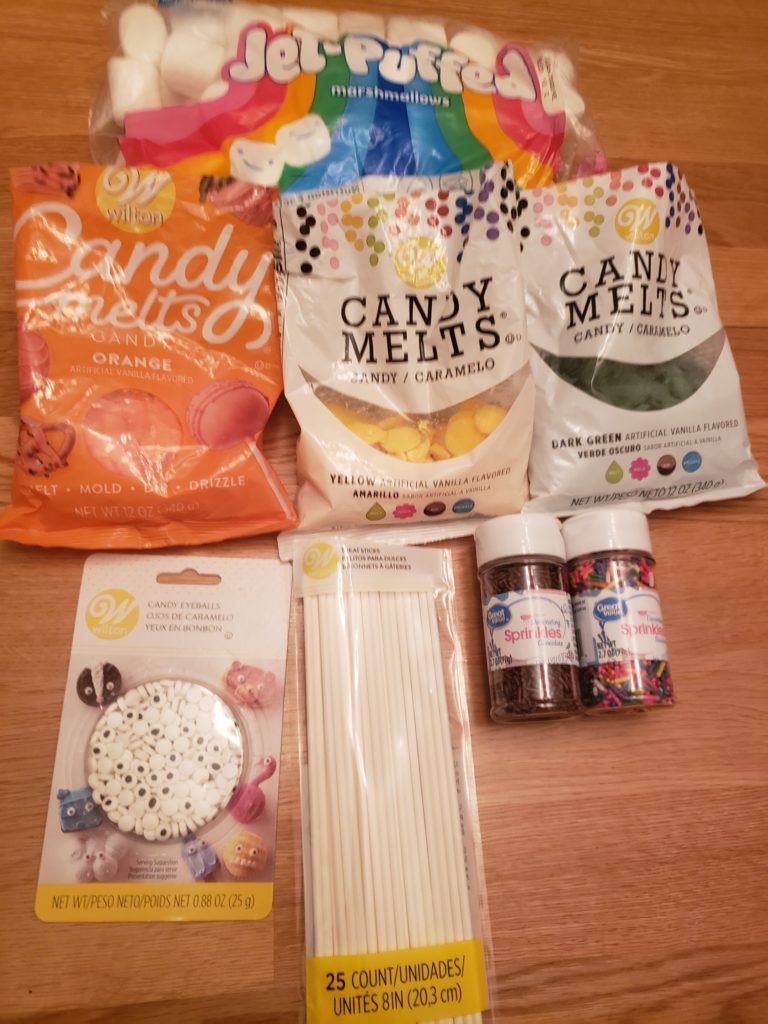
(Full printable ingredients and instructions are just below.)
Candy melts in 2-4 colors of your choice
24 large marshmallows
Sprinkles—chocolate and/or multi colored
Candy eyeballs—large or small or a mix of both
Treat sticks—the four inch ones are perfect. We had 8 inch and cut them in half because they were too long.
How to Make Halloween Monster Marshmallow Pops
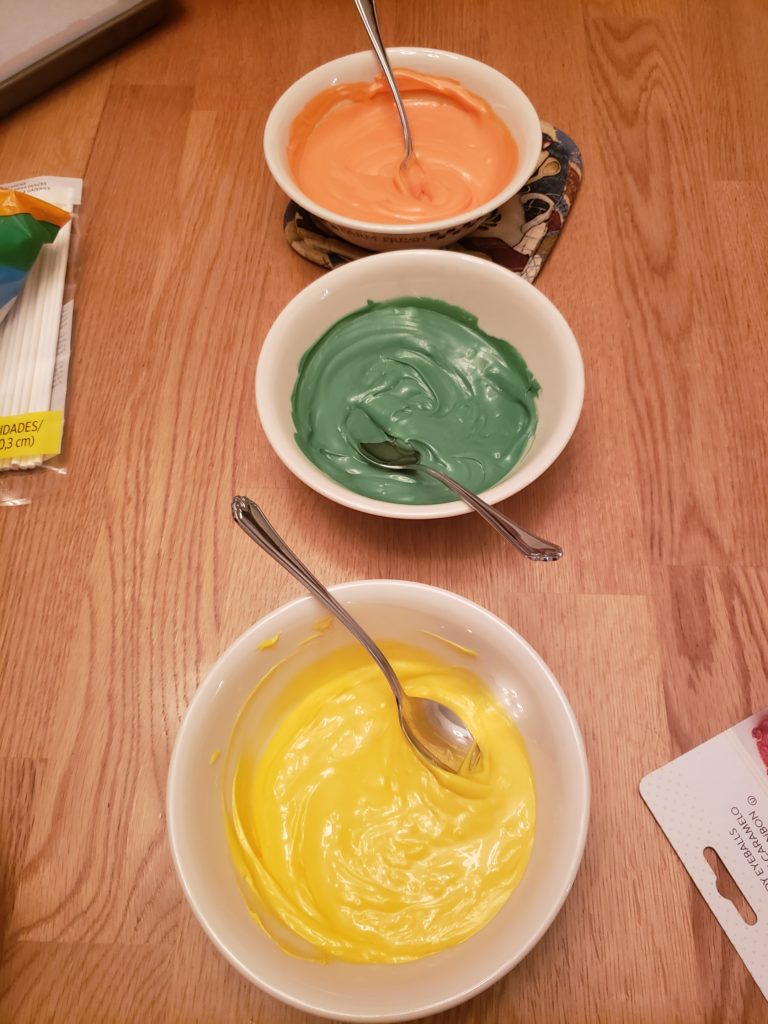
Melt the 12 ounce bags of candy melts about half a bag at a time in the microwave or double boiler on stove.
We did half a bag in a bowl for 50% power 1 minute, stir, another minute and then stir. It was just right. We also used 3 colors.
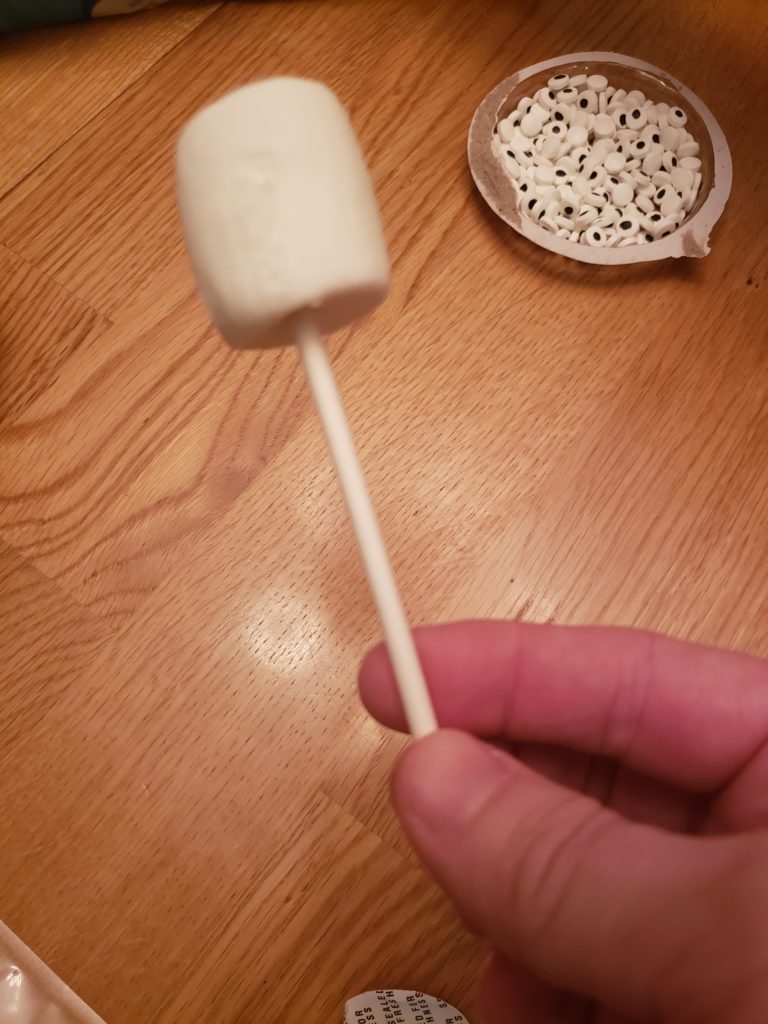
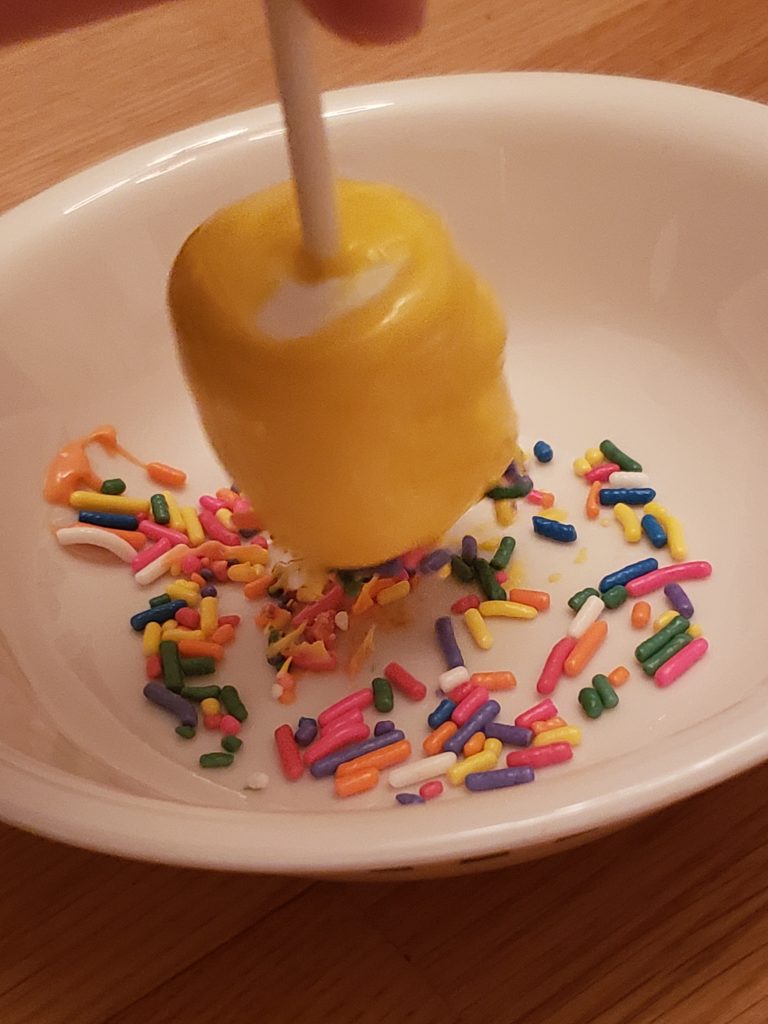
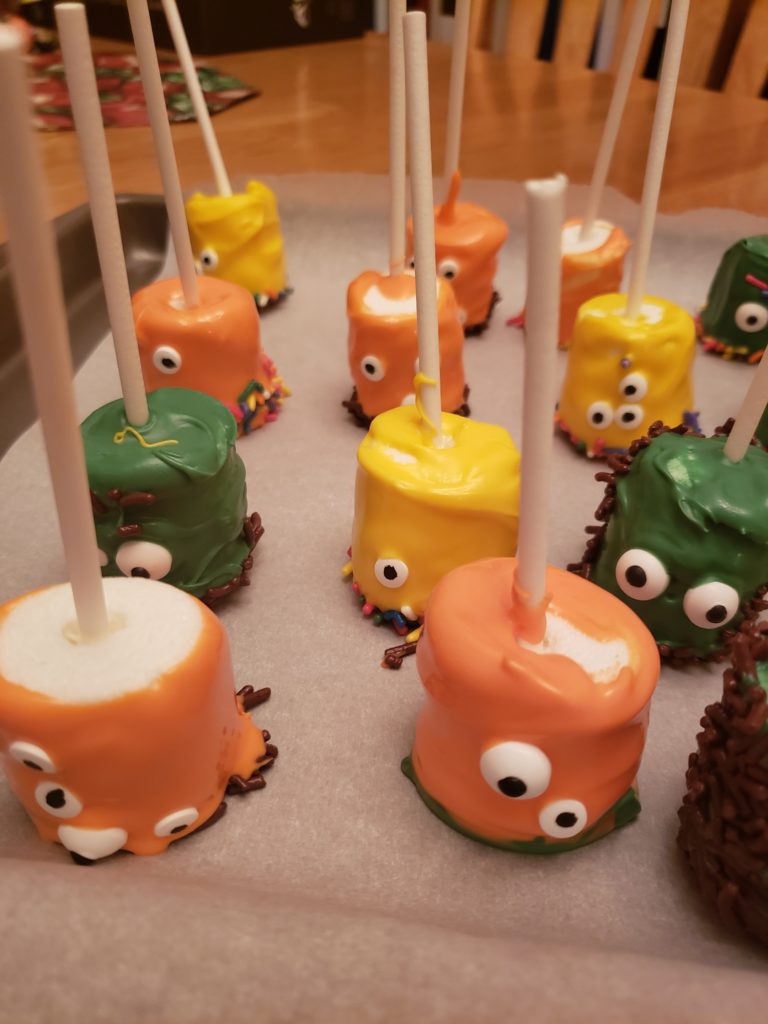
Insert the treat stick into a marshmallow and dip and swirl it into the desired color of candy melt.
Use a spoon to cover it thoroughly.
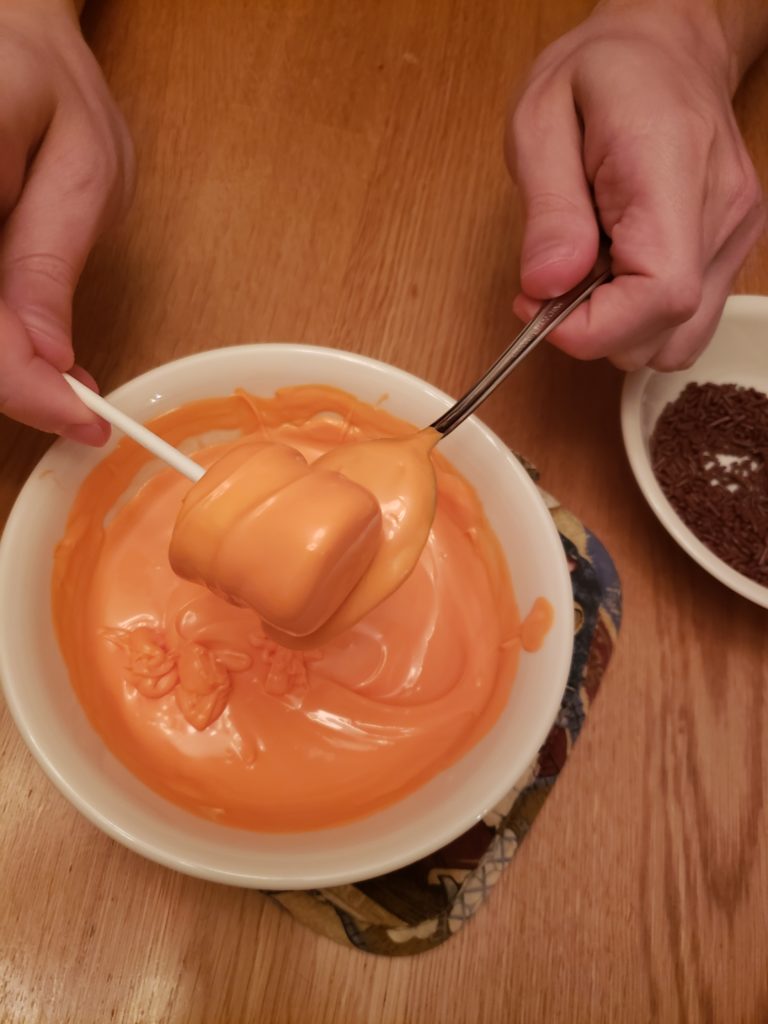
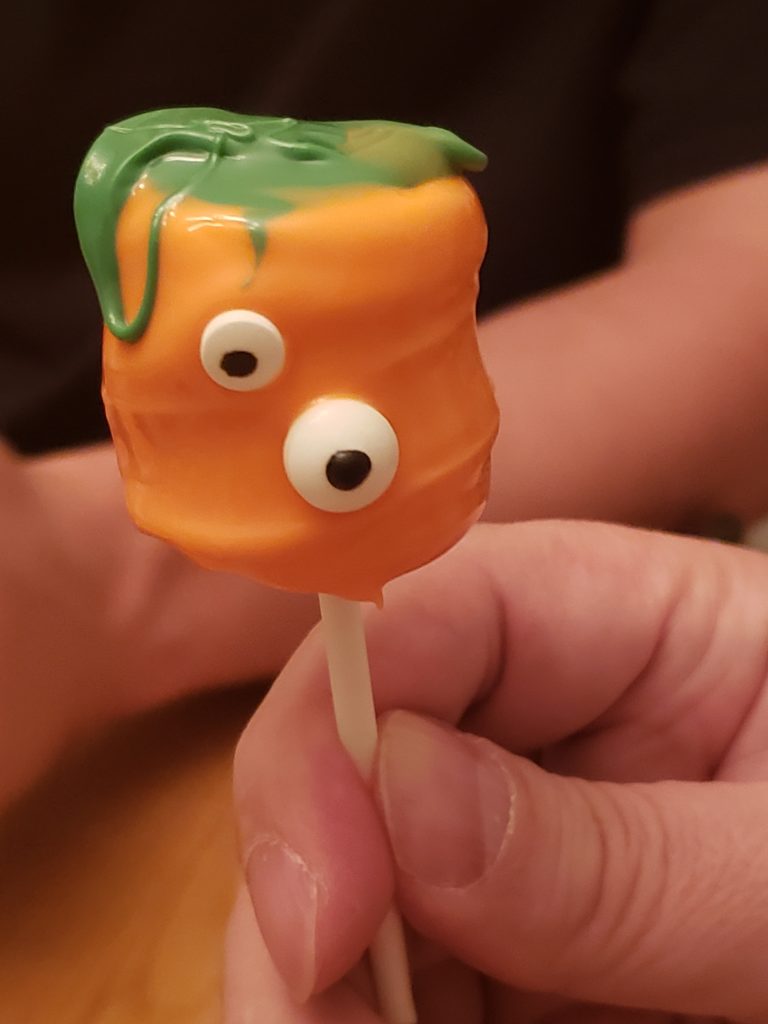
Dip into sprinkles for hair or even a beard, moustache or smile.
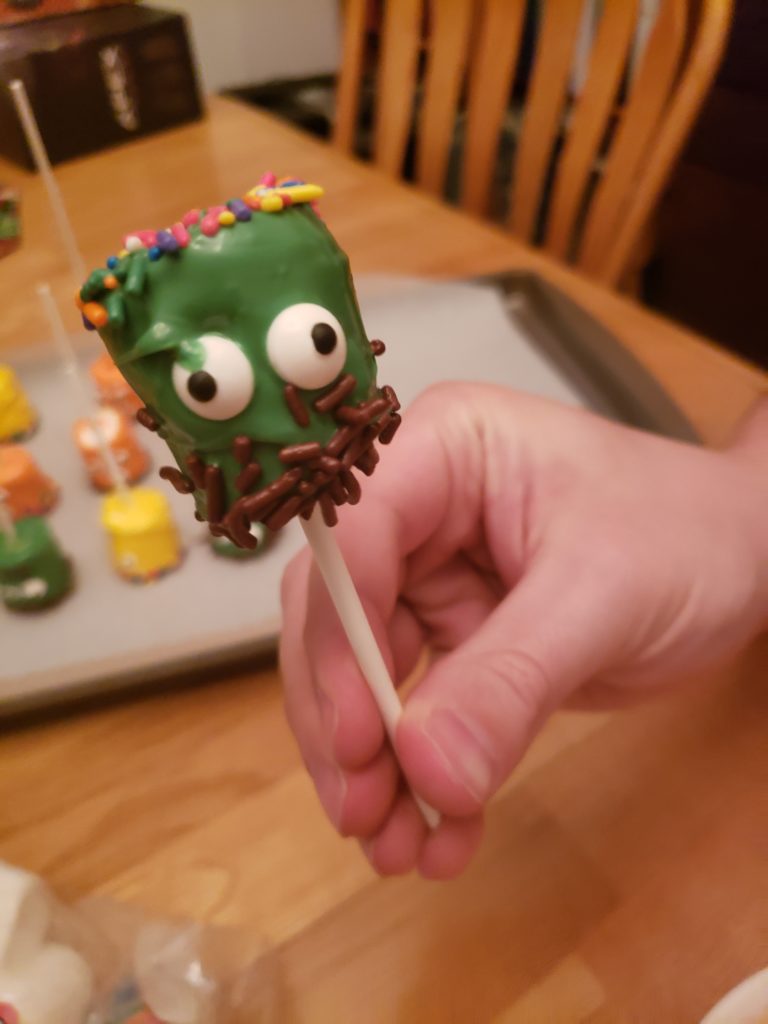
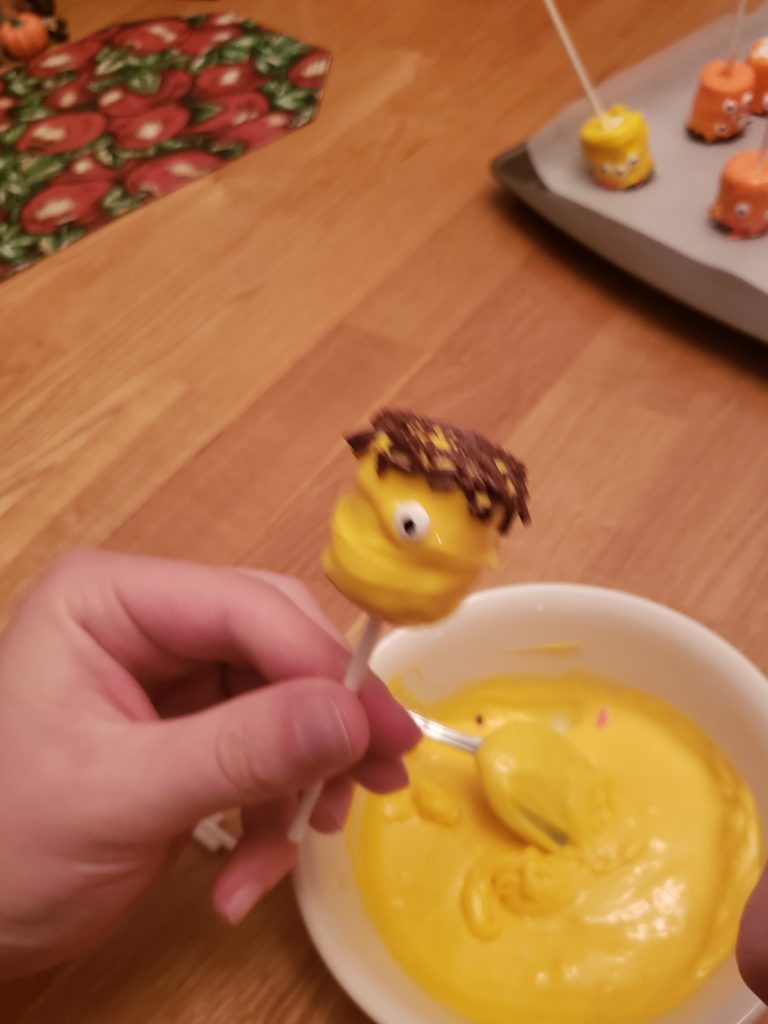
Add eyes as desired.
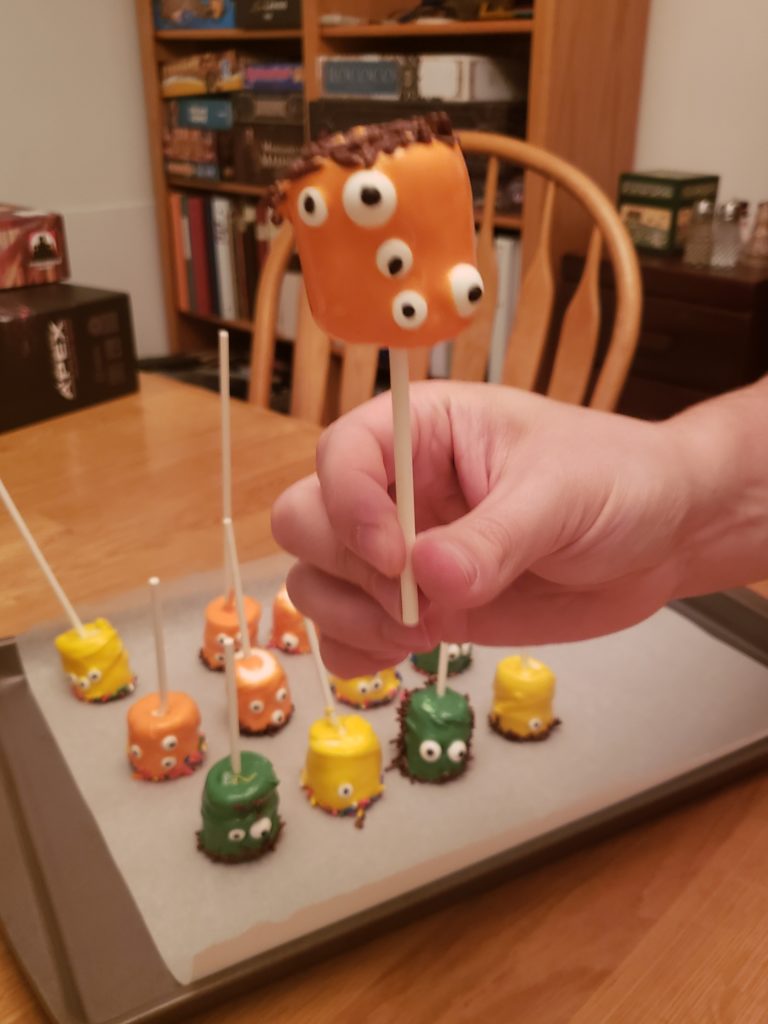
Put on parchment paper to harden. This does work fine but we did see that they were kind of flat headed when they were finished. My husband rigged up a simple drying rack if you would rather have them dry upside up. It is also great to display them in.
Tips and FAQ
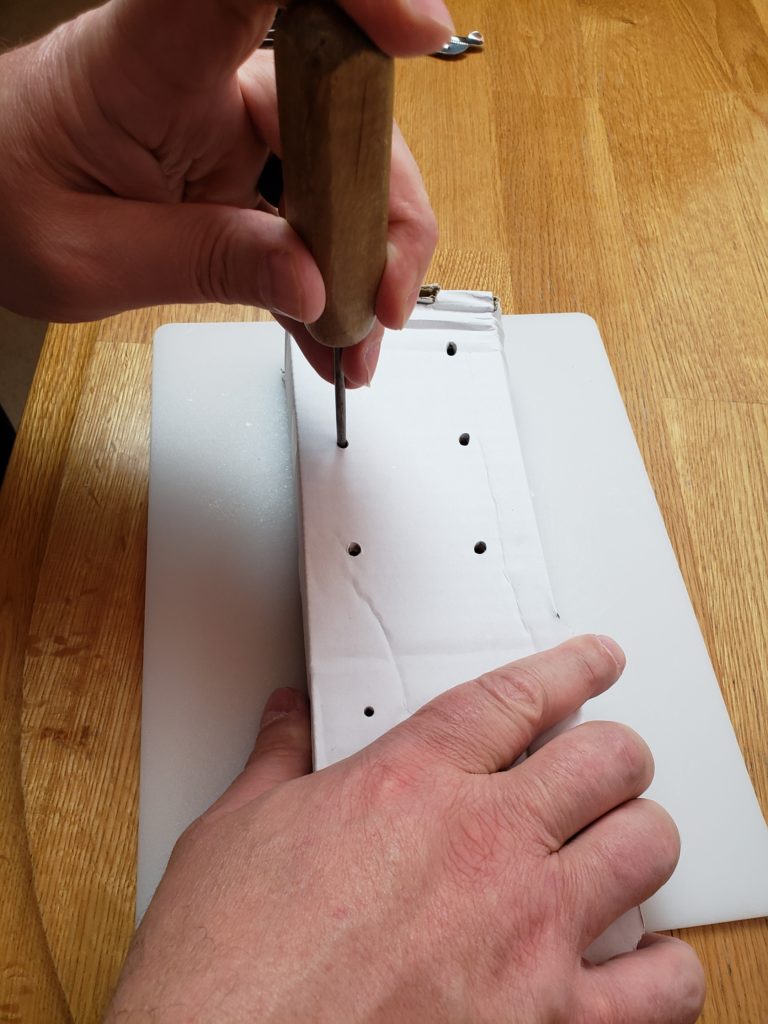
To make a drying rack/display rack;
Get a cardboard box that is shorter than your treat sticks. You can use a utility knife to cut it the correct height if you need to do so.
Take an ice pick and poke holes about 1 ¾-2 inches apart. (I actually realized later to not put them directly in front of each other. Stagger them so you can see the ones in the back like they are in this picture.)
And here I pushed the front row through the second holes but didn’t push the back row through them so they stood on top of the inside box. That made them stand up taller so you could see them in the pictures.
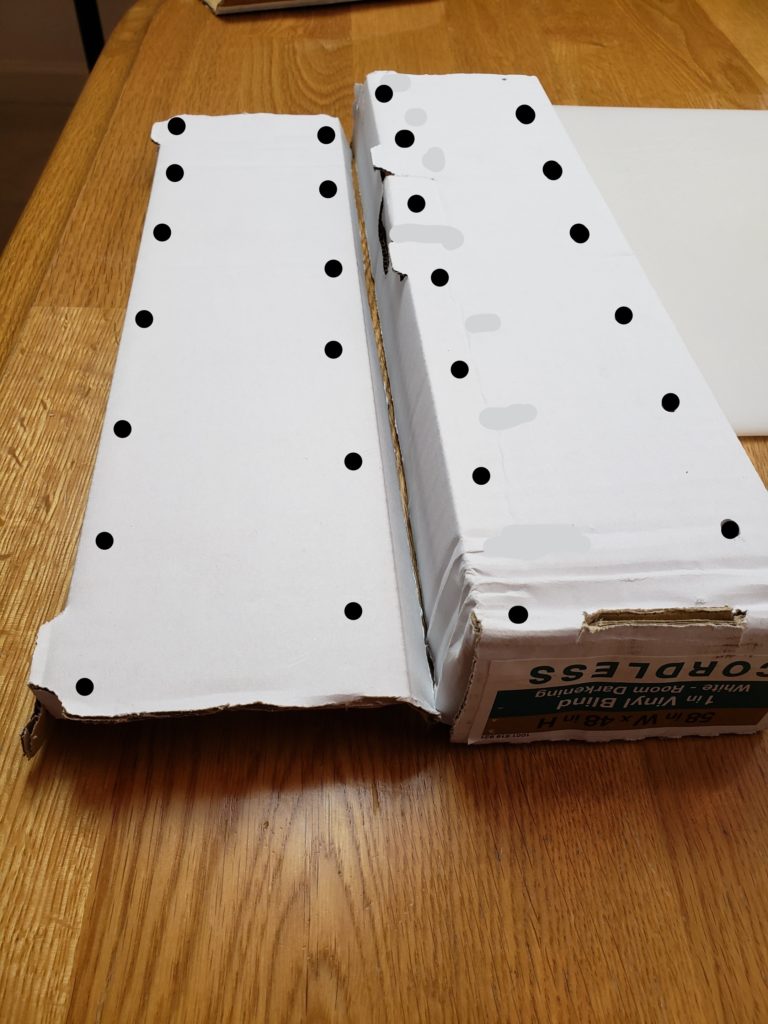
You can simply use one box but to keep the sticks from sliding through and to help the pops to stand up straight, cut another layer of box shorter than the first that fits inside of the bigger box—like so. When you poke the holes through, also poke them a bit smaller.
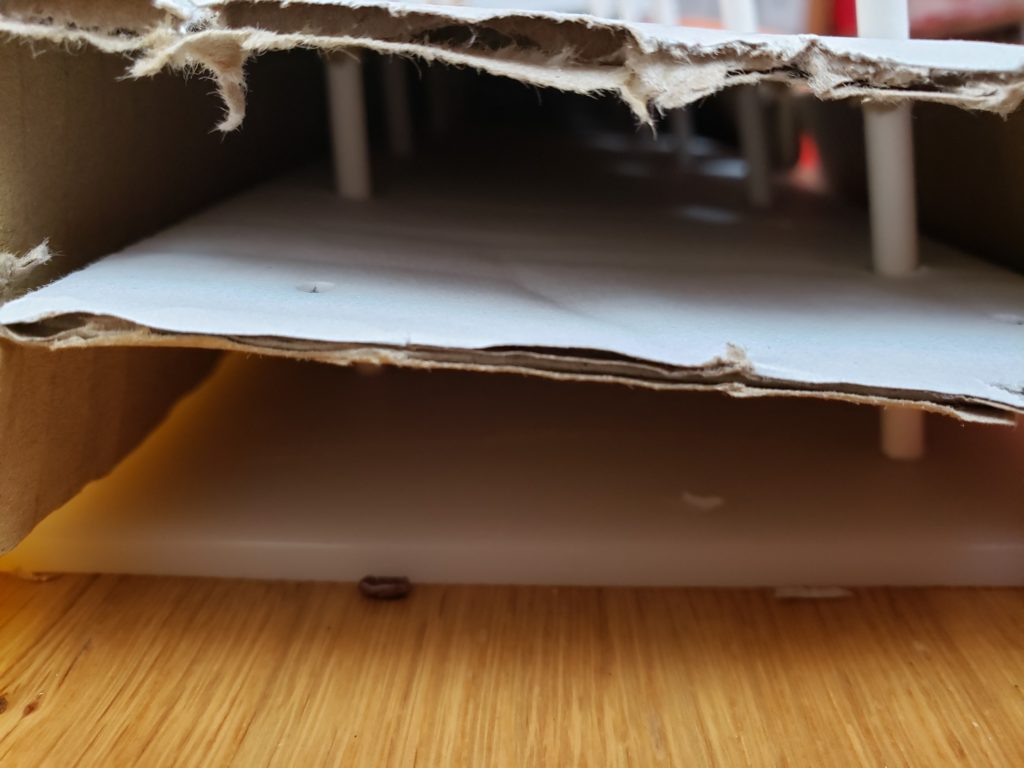
(And always do your poking with a cutting board underneath so you don’t poke a hole in your dining room table or your hand.)
Halloween Monster Marshmallow Pops
These Halloween Monster Marshmallow Pops are fun to make and fun to eat! The whole family will enjoy being creative and making monsters together.
Ingredients
- Candy melts in 2-4 colors of your choice
- 24 large marshmallows
- Sprinkles—chocolate and/or multi colored
- Candy eyeballs—large or small or a mix of both
- Treat sticks
Instructions
Melt the 12 ounce bags of candy melts about half a bag at a time in the microwave or double boiler on stove.
We did half a bag in a bowl for 50% power 1 minute, stir, another minute and then stir. It was just right. We also used 3 colors.
Cut the treat sticks in half if desired. They are not cheap and really not needed to be so long.
Insert the treat stick into a marshmallow and dip and swirl it into the desired color of candy melt.
Use a spoon to cover it thoroughly.
Dip into sprinkles for hair or even a beard, moustache or smile.
Add eyes as desired.
Put on parchment paper to harden. This does work fine but we did see that they were kind of flat headed when they were finished. My husband rigged up a simple drying rack if you would rather have them dry upside up. It is also great to display them in.
Notes
To make a drying rack/display rack;
Get a cardboard box that is shorter than your treat sticks. You can use a utility knife to cut it the correct height if you need to do so.
Take an ice pick and poke holes about 1 ¾-2 inches apart. (I actually realized later to not put them directly in front of each other. Stagger them so you can see the ones in the back like they are in this picture.)
And here I pushed the front row through the second holes but didn’t push the back row through them so they stood on top of the inside box. That made them stand up taller so you could see them in the pictures.
You can simply use one box but to keep the sticks from sliding through and to help the pops to stand up straight, cut another layer of box shorter than the first that fits inside of the bigger box—like so. When you poke the holes through, also poke them a bit smaller.
(And always do your poking with a cutting board underneath so you don’t poke a hole in your dining room table or your hand.)
Please refer to the post for pictures of the drying rack if you would like to see it. I didn't include them in the printout to save space and ink.
As an Amazon Associate, I earn from qualifying purchases at no extra cost to you.

Paint by Sticker Kids: Halloween
Buy Now →
Halloween Paper Coloring Tablecloth – 54″ x 88″
Buy Now →
Halloween Hidden Pictures Puzzles to Highlight
Buy Now →
Would You Rather? Halloween Edition
Buy Now →
Halloween Temporary Tattoos for Kids – 360 Pieces
Buy Now →
100 PCS Non-Repeating Halloween Pumpkin Theme Stickers
Buy Now →
Cindy
Welcome! I am a wife, mother, mother-in-law, Grammy, daughter, sister and retired homeschooler. I enjoy writing about things I have learned over the years, sharing recipes and tips with others and making free printables for parents and teachers.