As an Amazon Affiliate, I earn from qualifying purchases at no extra cost to you.
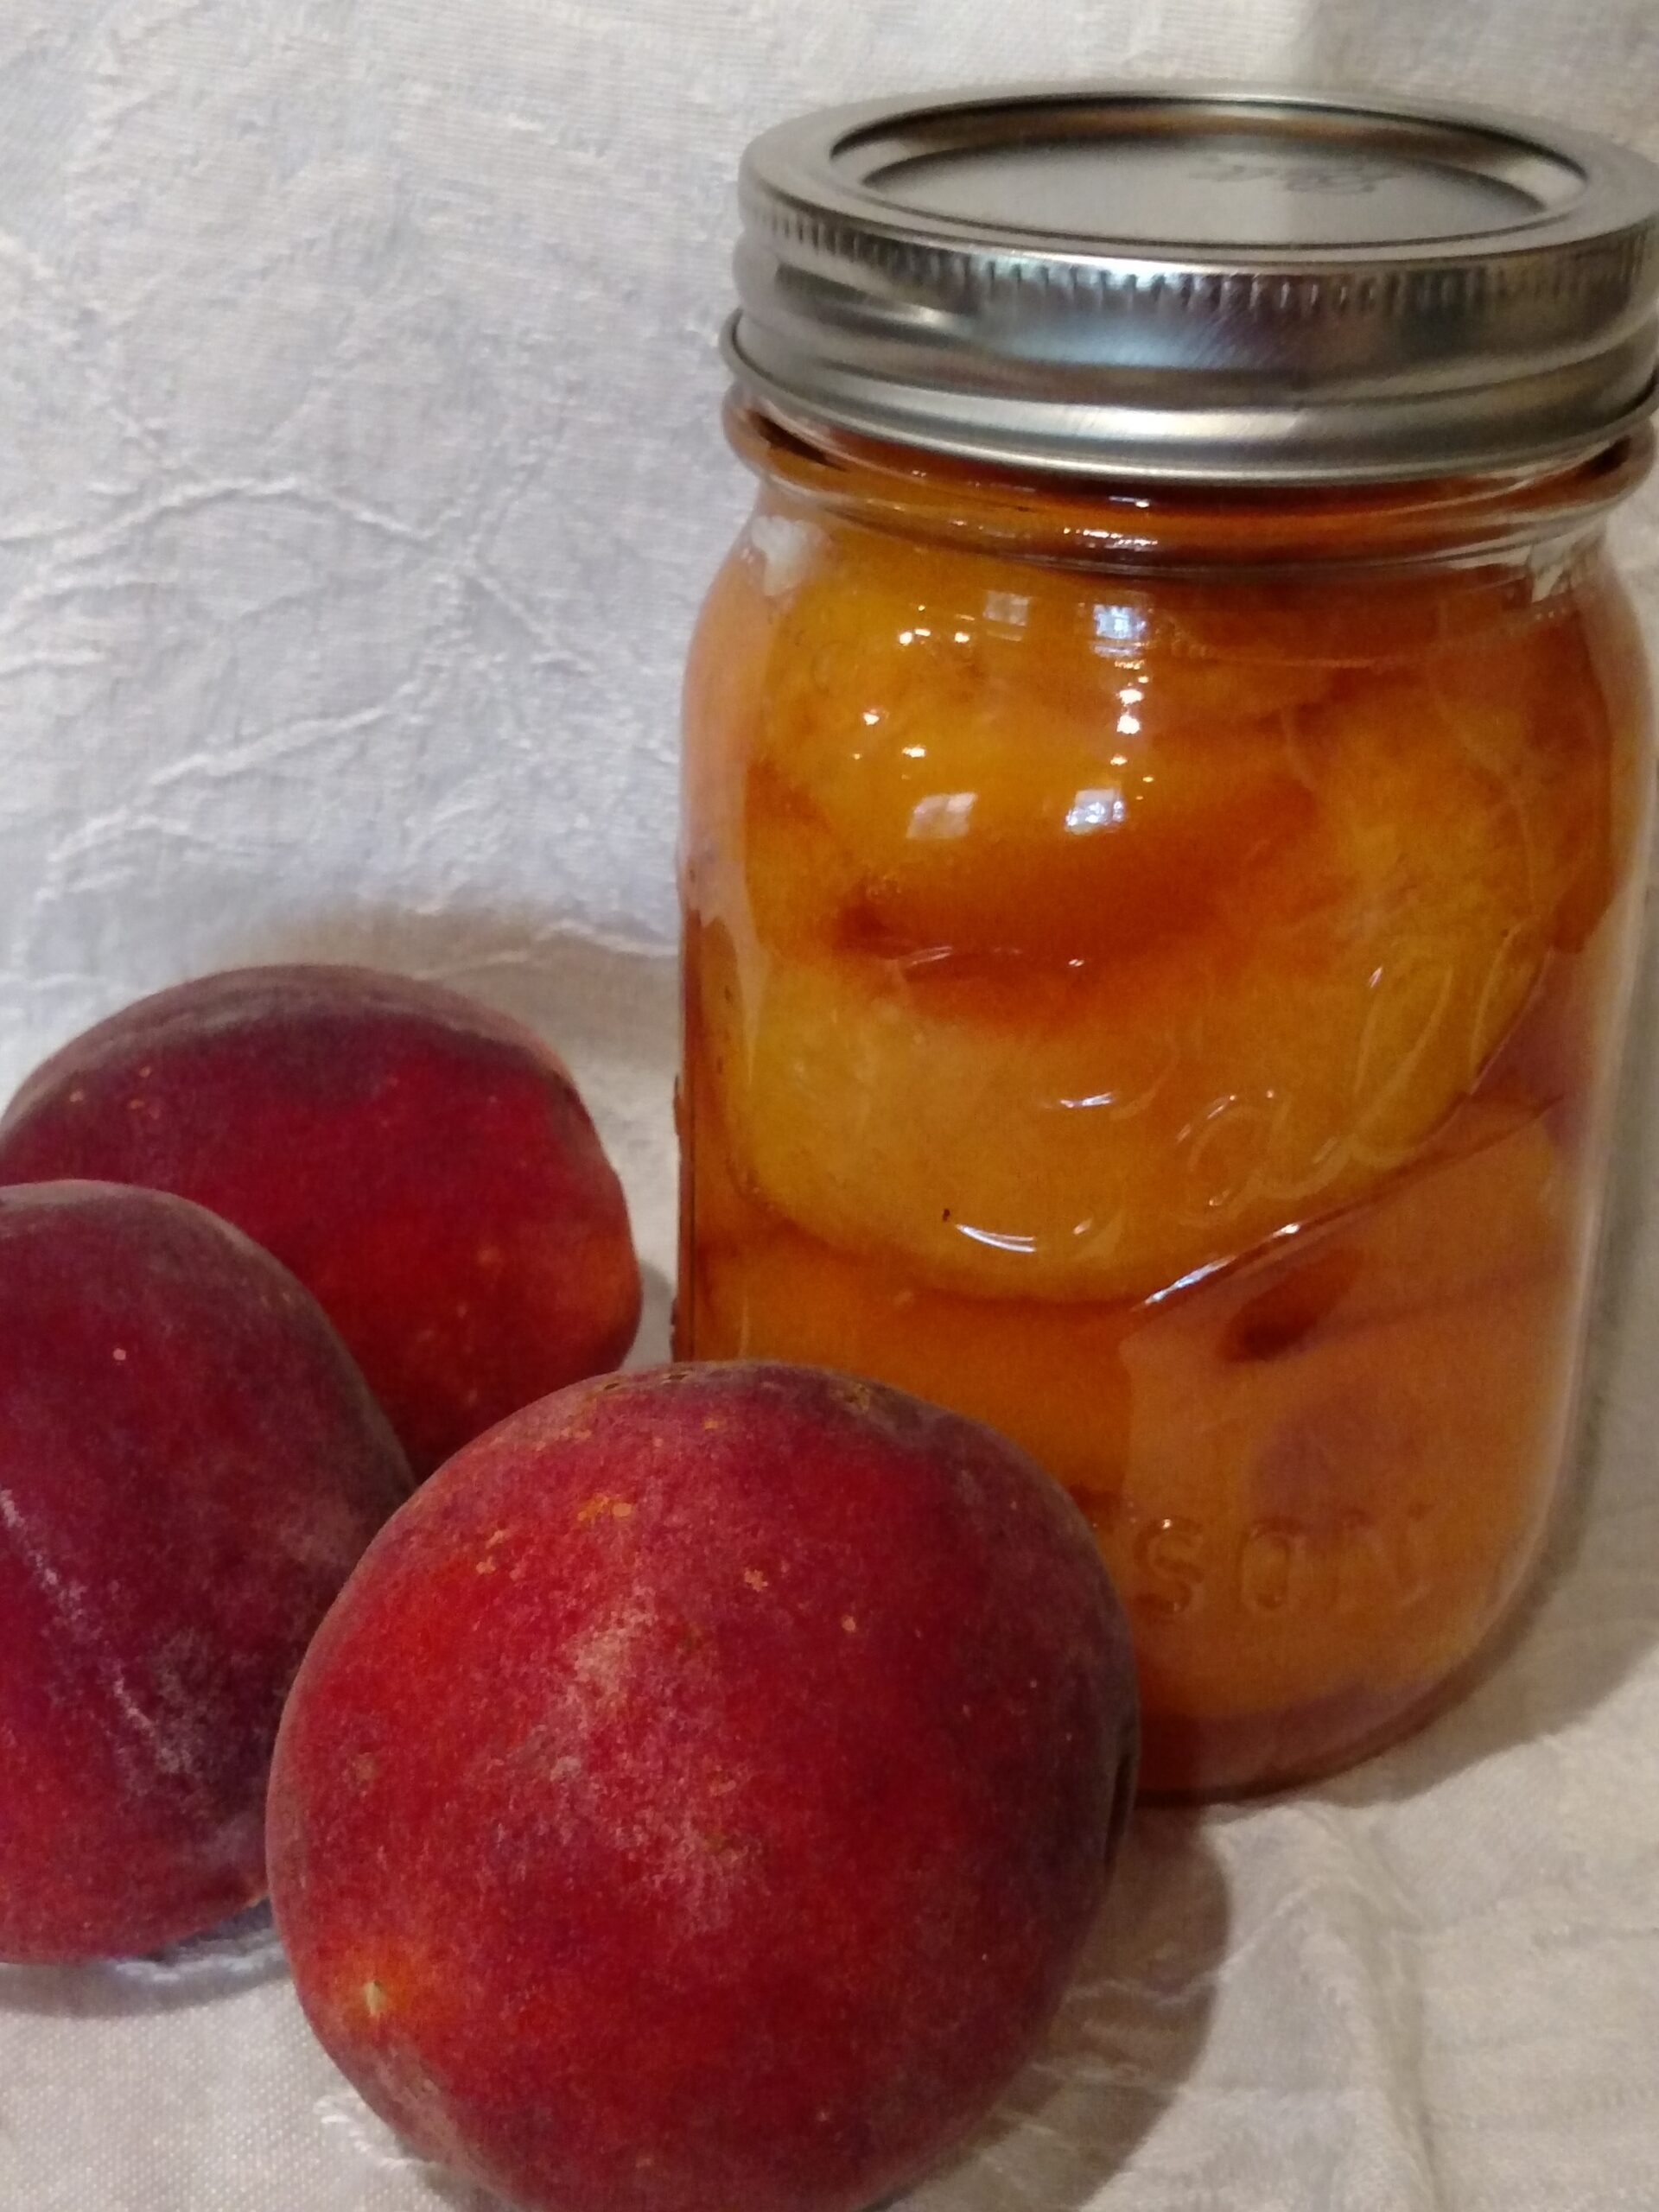
Simple step by step directions to show you how to can peaches with a boiling water canner. Directions for a pressure canner also included.
Sometimes the thought of canning is overwhelming; scary even. It does take time but oh, it is time so well spent! I am so happy I learned how to can peaches with a boiling water canner.
The satisfaction of looking at (not to mention eating–well, I guess I did mention it! :)) the fresh fruits, vegetables, broth, soups, sauces, salsa, jams (and any other good stuff) that YOU preserved is huge!
A pressure canner can also be used and needs “only” 10 minutes of processing but when you count heating up and cooling down, it is far more than the 20-25 minutes it will take to can them in boiling water.
Other Canning Posts
How many peaches?
33 medium peaches=9.5 pounds
27 medium peaches=8 pounds (perfect for 9 pints/1 canner)
16 medium peaches=5 pounds
For 9 pints/1 canner 6 cups water + ¾ cups sugar=very very light syrup
The syrup:
Plain water can be used but most want some type of syrup. There are plenty of options to get just the right amount of sweetness that you like.
I took these measurements from my Presto canning booklet. They included down to very light syrup and I added very, very light syrup.
Even very light syrup is hummingbird food! That is too sweet for us. We think the very very light syrup is just right.
Heavy syrup=4 ¾ cups sugar+4 cups water
Medium syrup=3 cups sugar+4 cups water
Light syrup=2 cups sugar+4 cups water
Very light syrup=1 cup sugar + 4 cups water
Very, very light syrup=1/2 cup sugar + 4 cups water
Directions: Getting ready
Wash peaches.
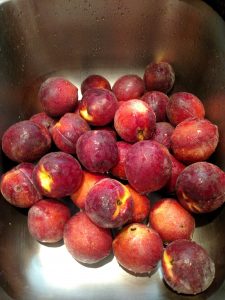
Dip peaches in boiling water for 1 minute, then into cold water to loosen skins. (Gently! You don’t want to bruise them.) This step makes the skins slide right off. See the clip below for the easiest way to cut them. They are slippery!
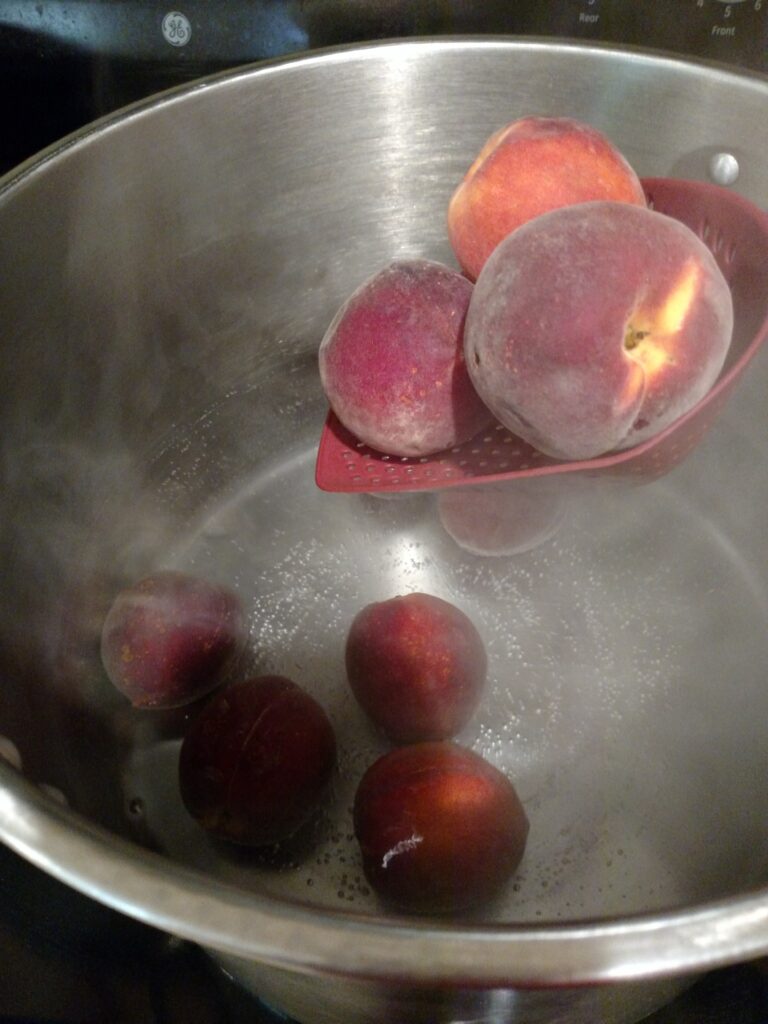
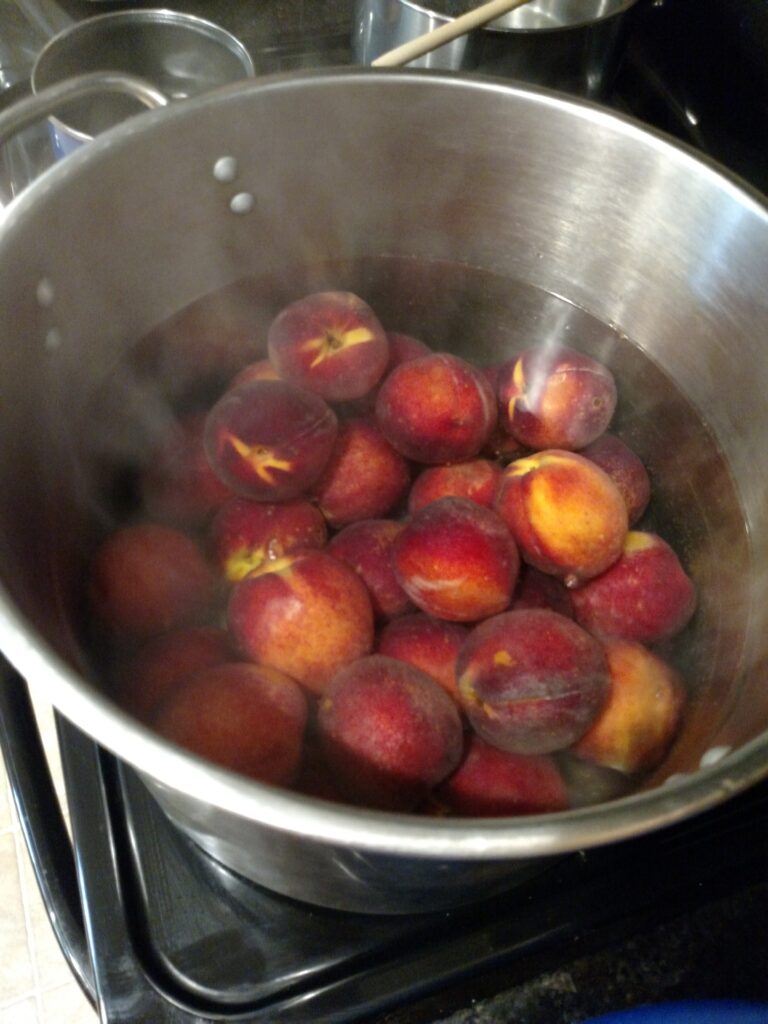
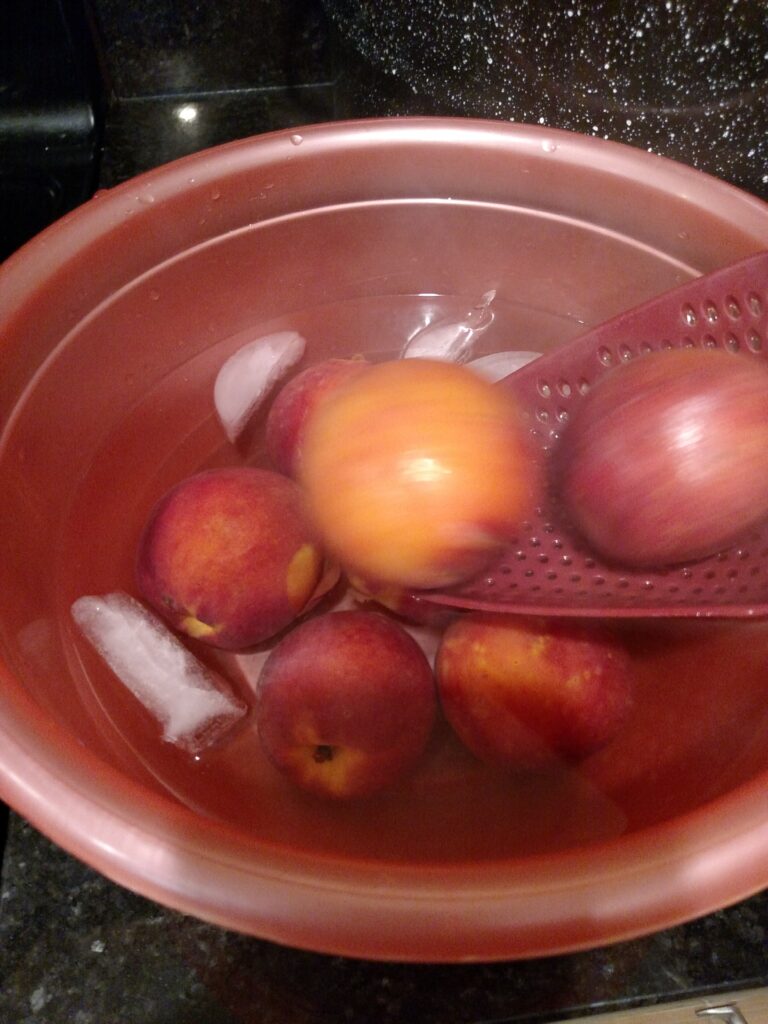
Peel and cut peaches into halves, quarters or slices; whatever you want.
Heat syrup.
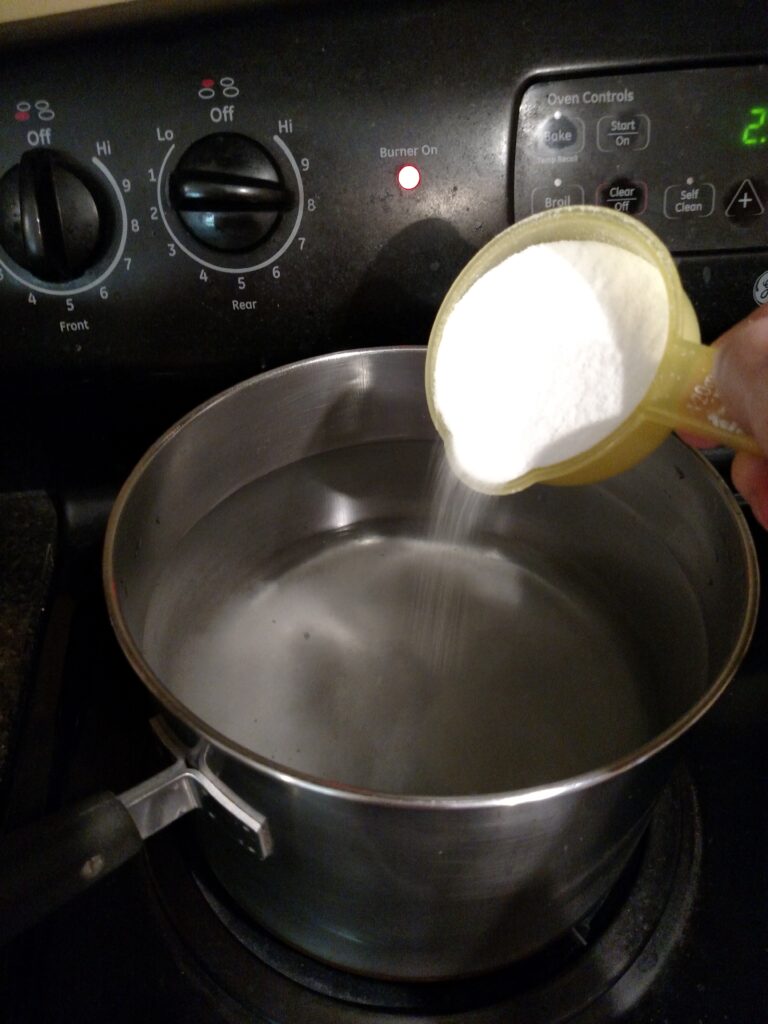
Pack peaches, cut side down, in clean, hot jars. Leave ½ inch of head space.
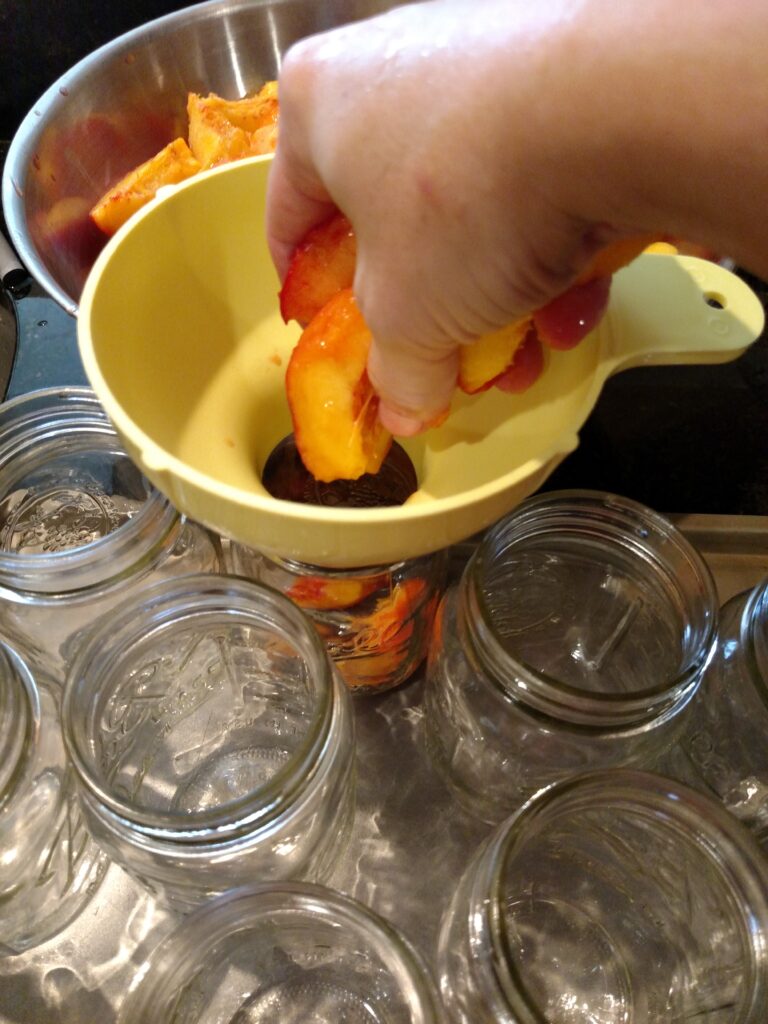
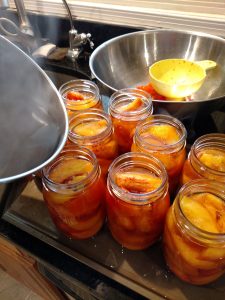
Cover with boiling syrup or water, again leaving ½ inch of head space.
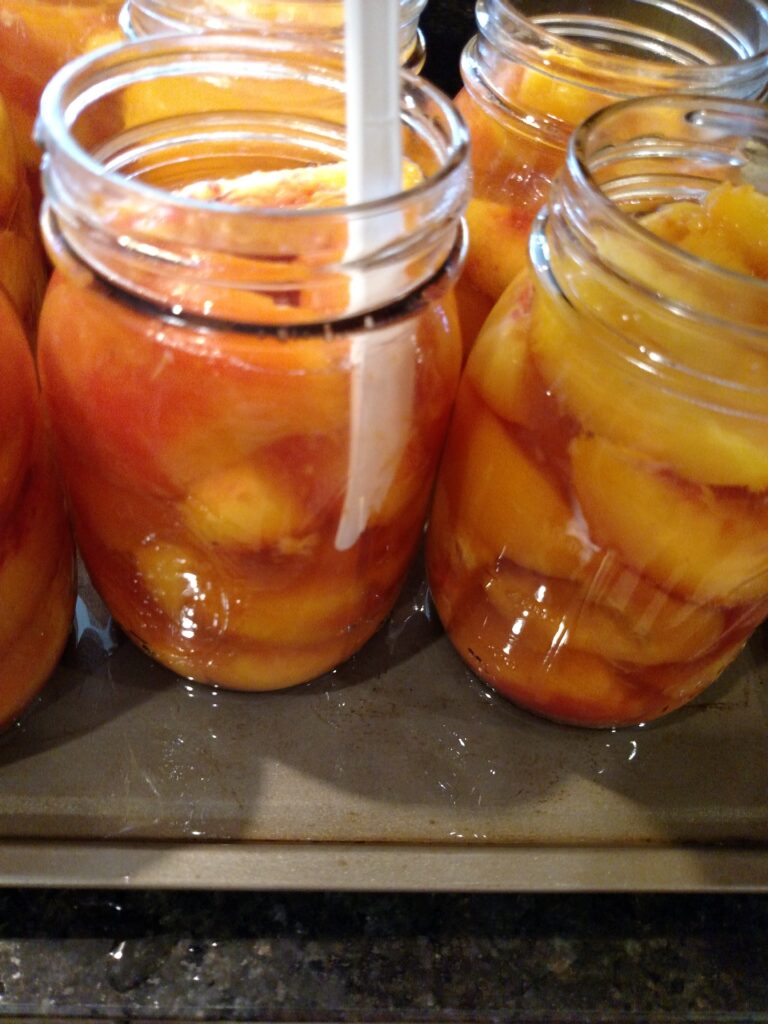
Run a plastic knife around the edges of the jar to release any air bubbles.
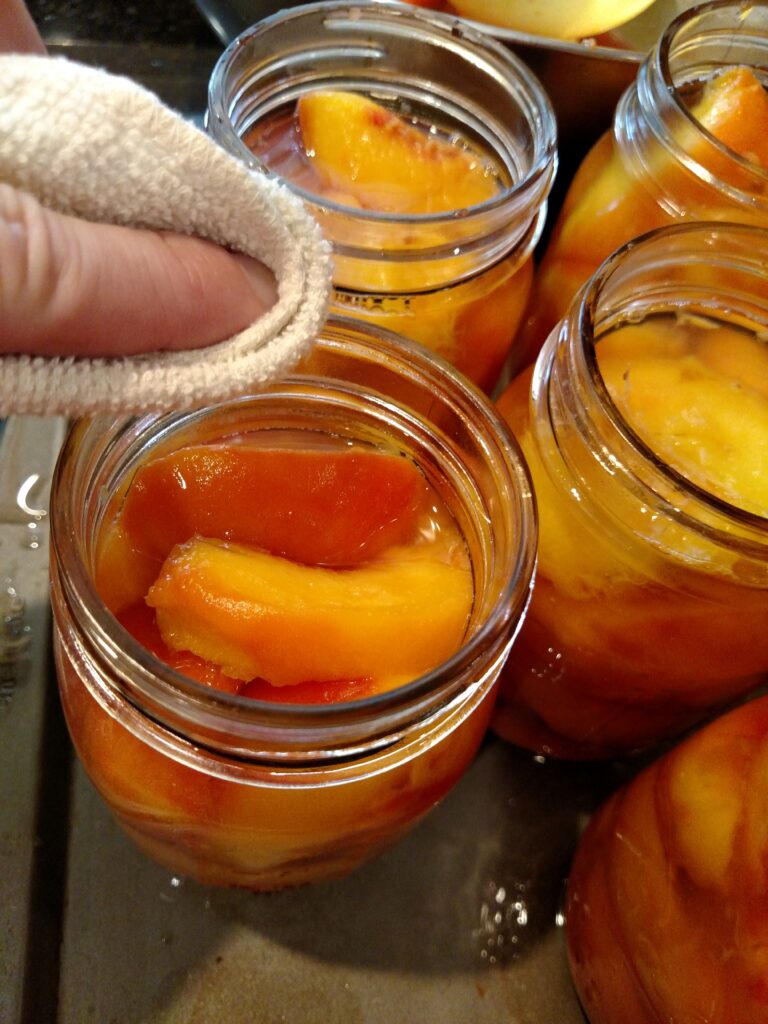
Wipe rims with a clean, damp rag to be sure there is nothing to keep it from sealing.
Heat lids in hot water.
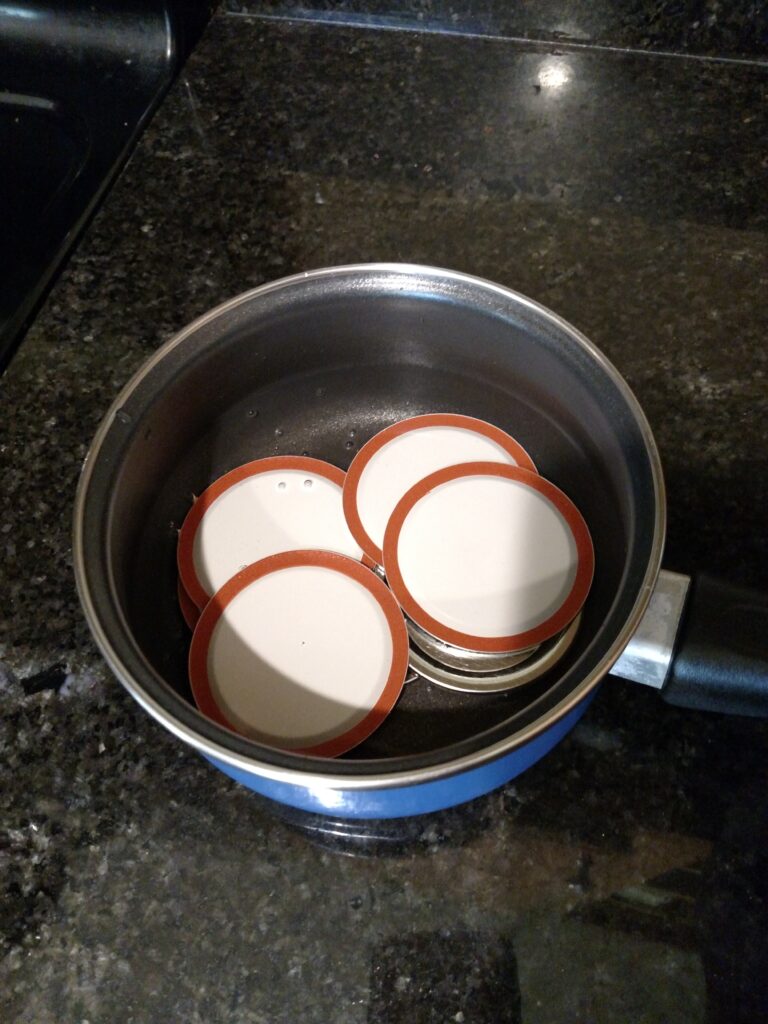
Put on lids and rings.
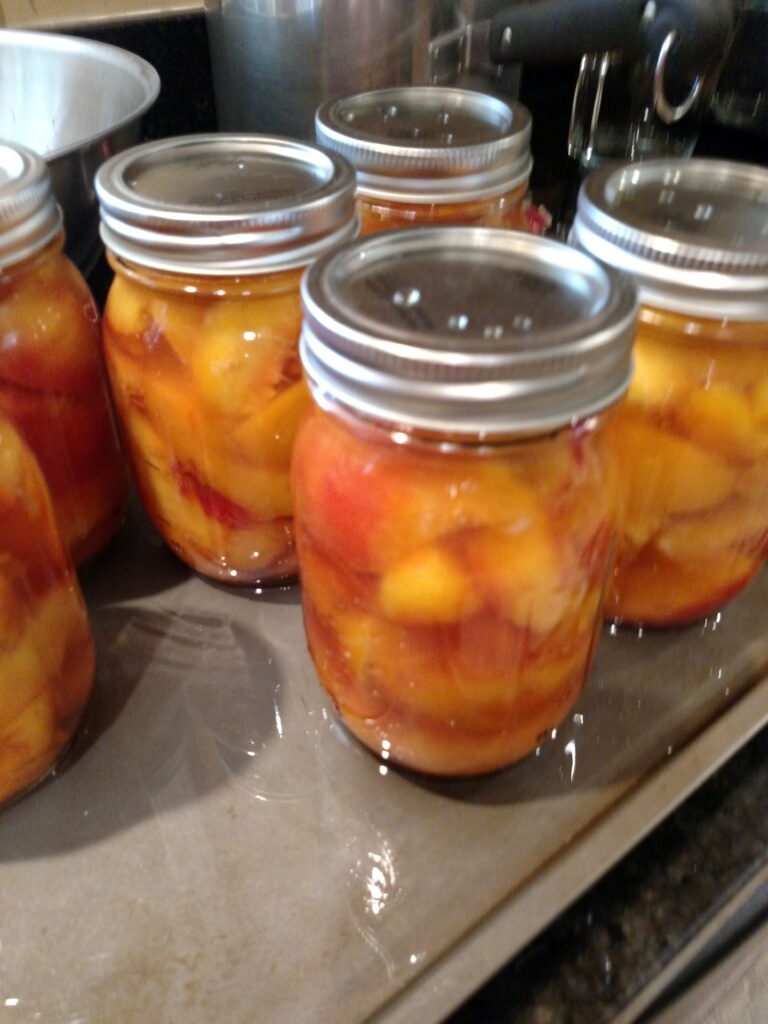
Directions for canning:
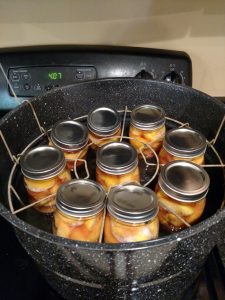
When adding jars to canner, always put them in slowly and carefully and keep them balanced so the rack does not tip. Don’t put them in next to each other to start. Put in one at 12:00, then one at 6:00, one at 3:00 and then 9:00, etc.
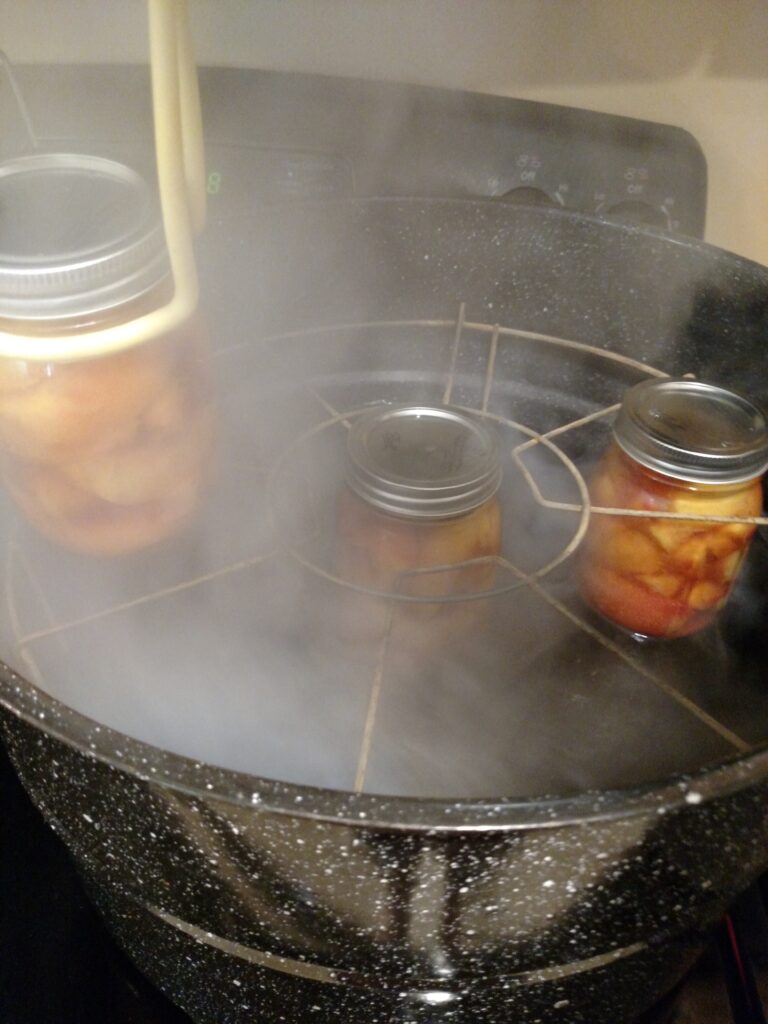
Let them sit just a few minutes before lowering into the boiling water so they can adjust. Be sure the water is covering the jars by at least an inch when the rack is placed down in the water.
Process pints for 20 minutes or quarts for 25 minutes in boiling water canner. At the end of the time, lift the rack back up to where it started and let them sit just a few minutes again. You will hear the popping of the sealed jars any time! That is the sign of success!
Carefully lift each jar out to sit on a towel with at least an inch between them to cool properly. Leave them undisturbed for at least several hours. I always leave them at least until the next day because I love to look at them 🙂
They can also be pressure canned at 5 pounds of pressure for 10 minutes in pressure canner (pints or quarts).
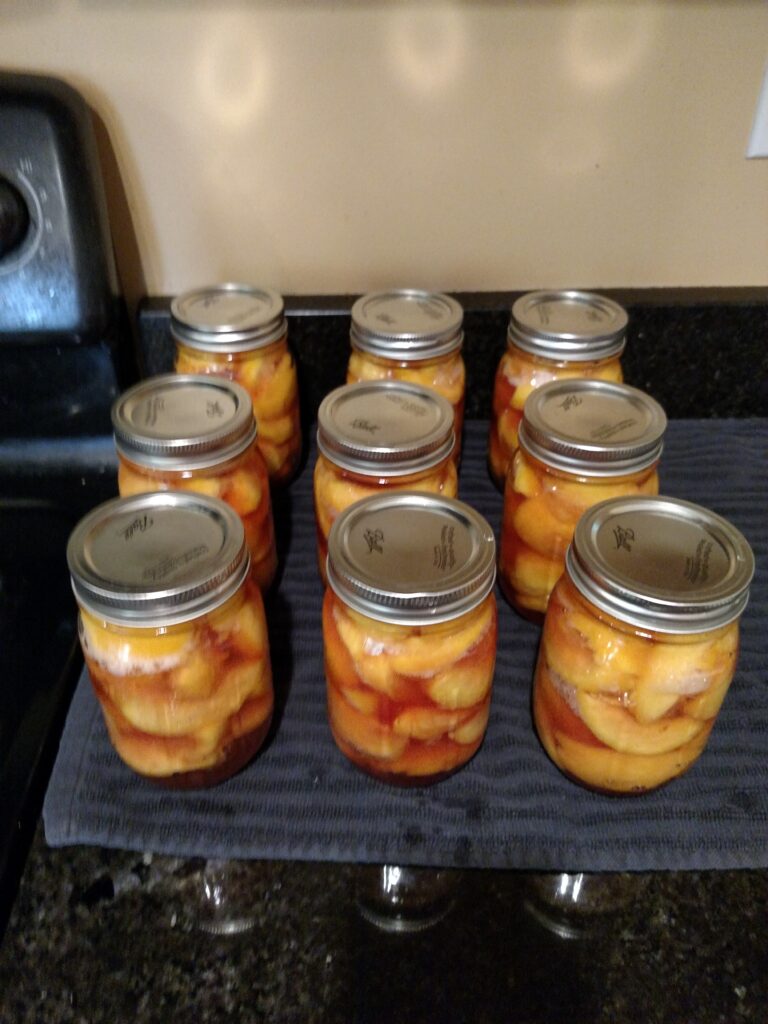
Now you know how to can peaches with a boiling water canner or a pressure canner!
As an Amazon Associate, I earn from qualifying purchases at no extra cost to you.

Supa Ant Pressure Canner 23 Qt Starter Kit – Pressure Canner, Water Bath Canner & Supplies
Buy Now →
T-fal Pressure Cooker Aluminum Pressure Canner, 22 Quart
Buy Now → Buy Now →
Canning Supplies Essentials Boxed Set 6 Piece
Buy Now → Buy Now →
  Buy Now →
400 Dissolvable Canning Labels
Buy Now →
Canning Lids and Rings, wide mouth Set of 12
Buy Now →
Canning Lids with Rings For Mason Regular Mouth, 28Lids + 28Rings
Buy Now →
Ball Complete Book of Home Preserving
Buy Now →If you make it, play it or use it, let me know! Rate it and leave a comment below. I love hearing from you!
Be Sure to Pin so you can find it easily later!
Are you following me on Pinterest? I have been working very hard making new boards I think you will love and am adding dozens of new pins from all of the popular homeschooling websites!
Come join us on our Facebook page, Loving Homeschool. I am adding daily pictures, links and much more than I would on the blogs and it is a place for you to find support from others on the same journey as you are. Come and share with others, ask questions and learn! And if you love recipes, follow my Best Recipes You Will Want To Make group on Facebook! Feel free to share your own favorites and find many new ones there!
I enjoy offering free printables and resources to bless my readers. Your frequent visits to my blog and purchases through affiliate links and ads keep the lights on so to speak. Thank you!

Cindy
Welcome! I am a wife, mother, mother-in-law, Grammy, daughter, sister and retired homeschooler. I enjoy writing about things I have learned over the years, sharing recipes and tips with others and making free printables for parents and teachers.
